
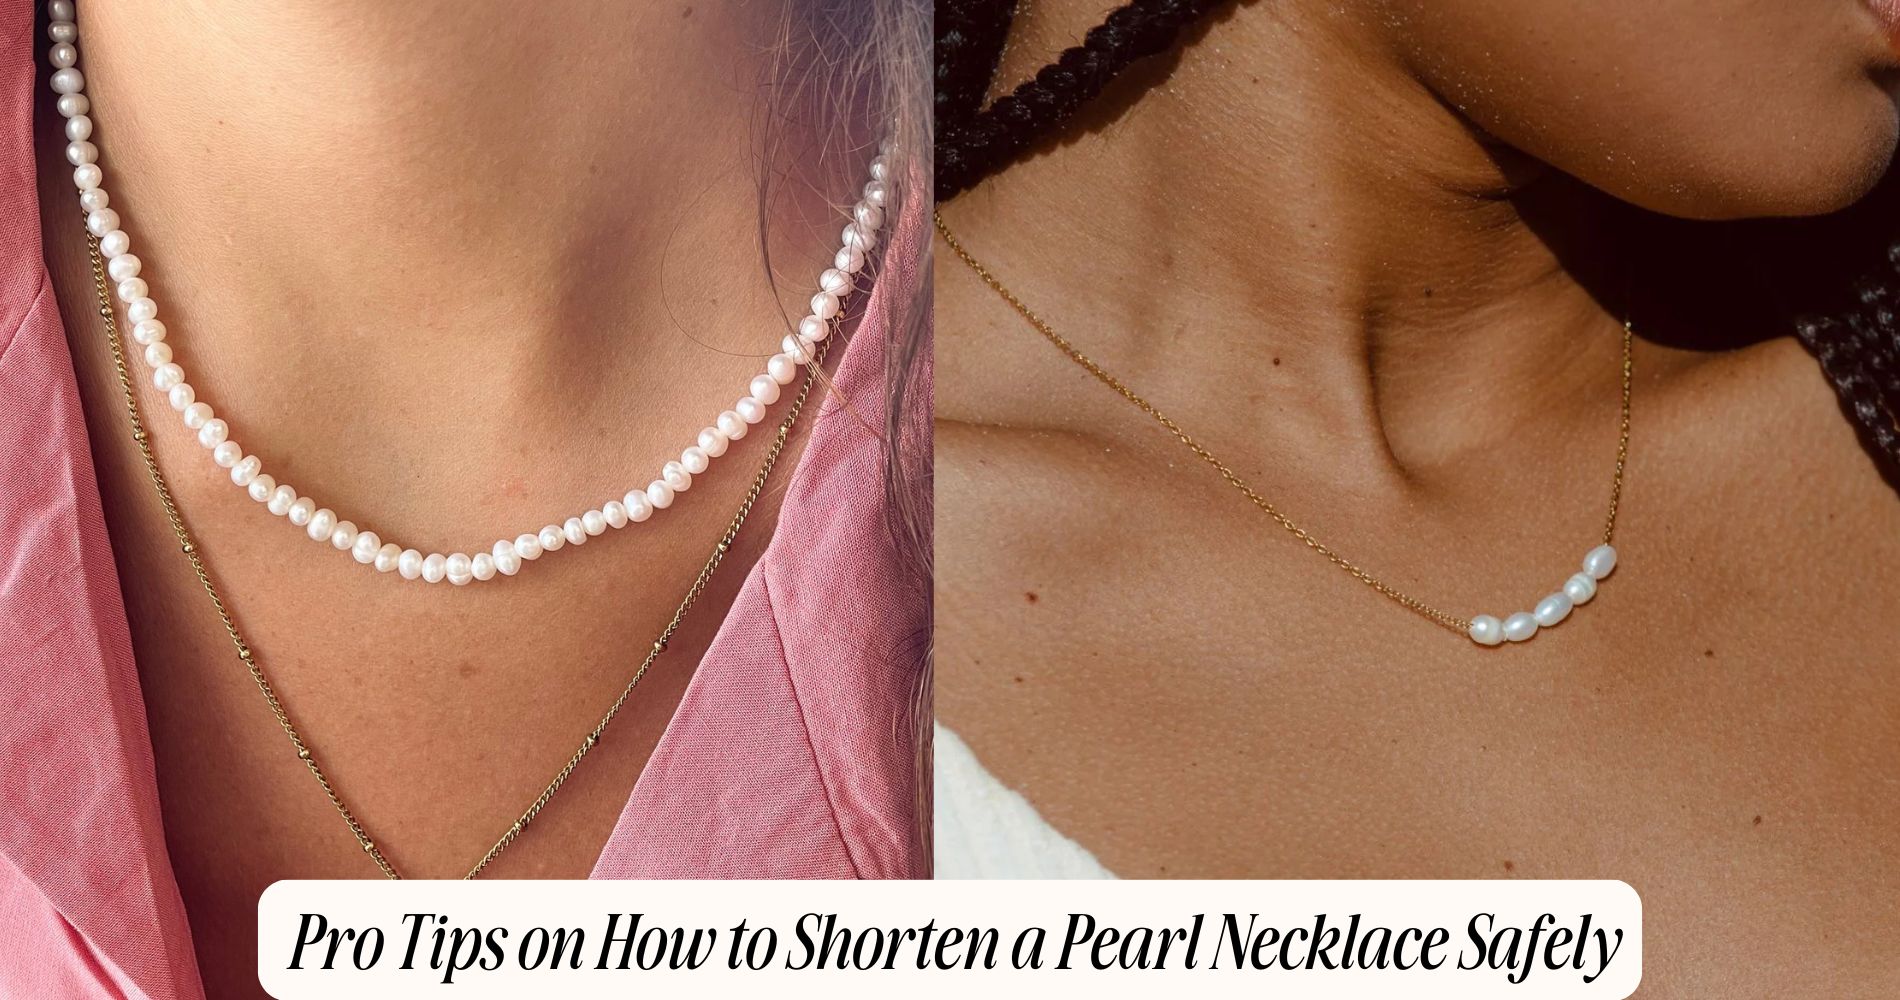
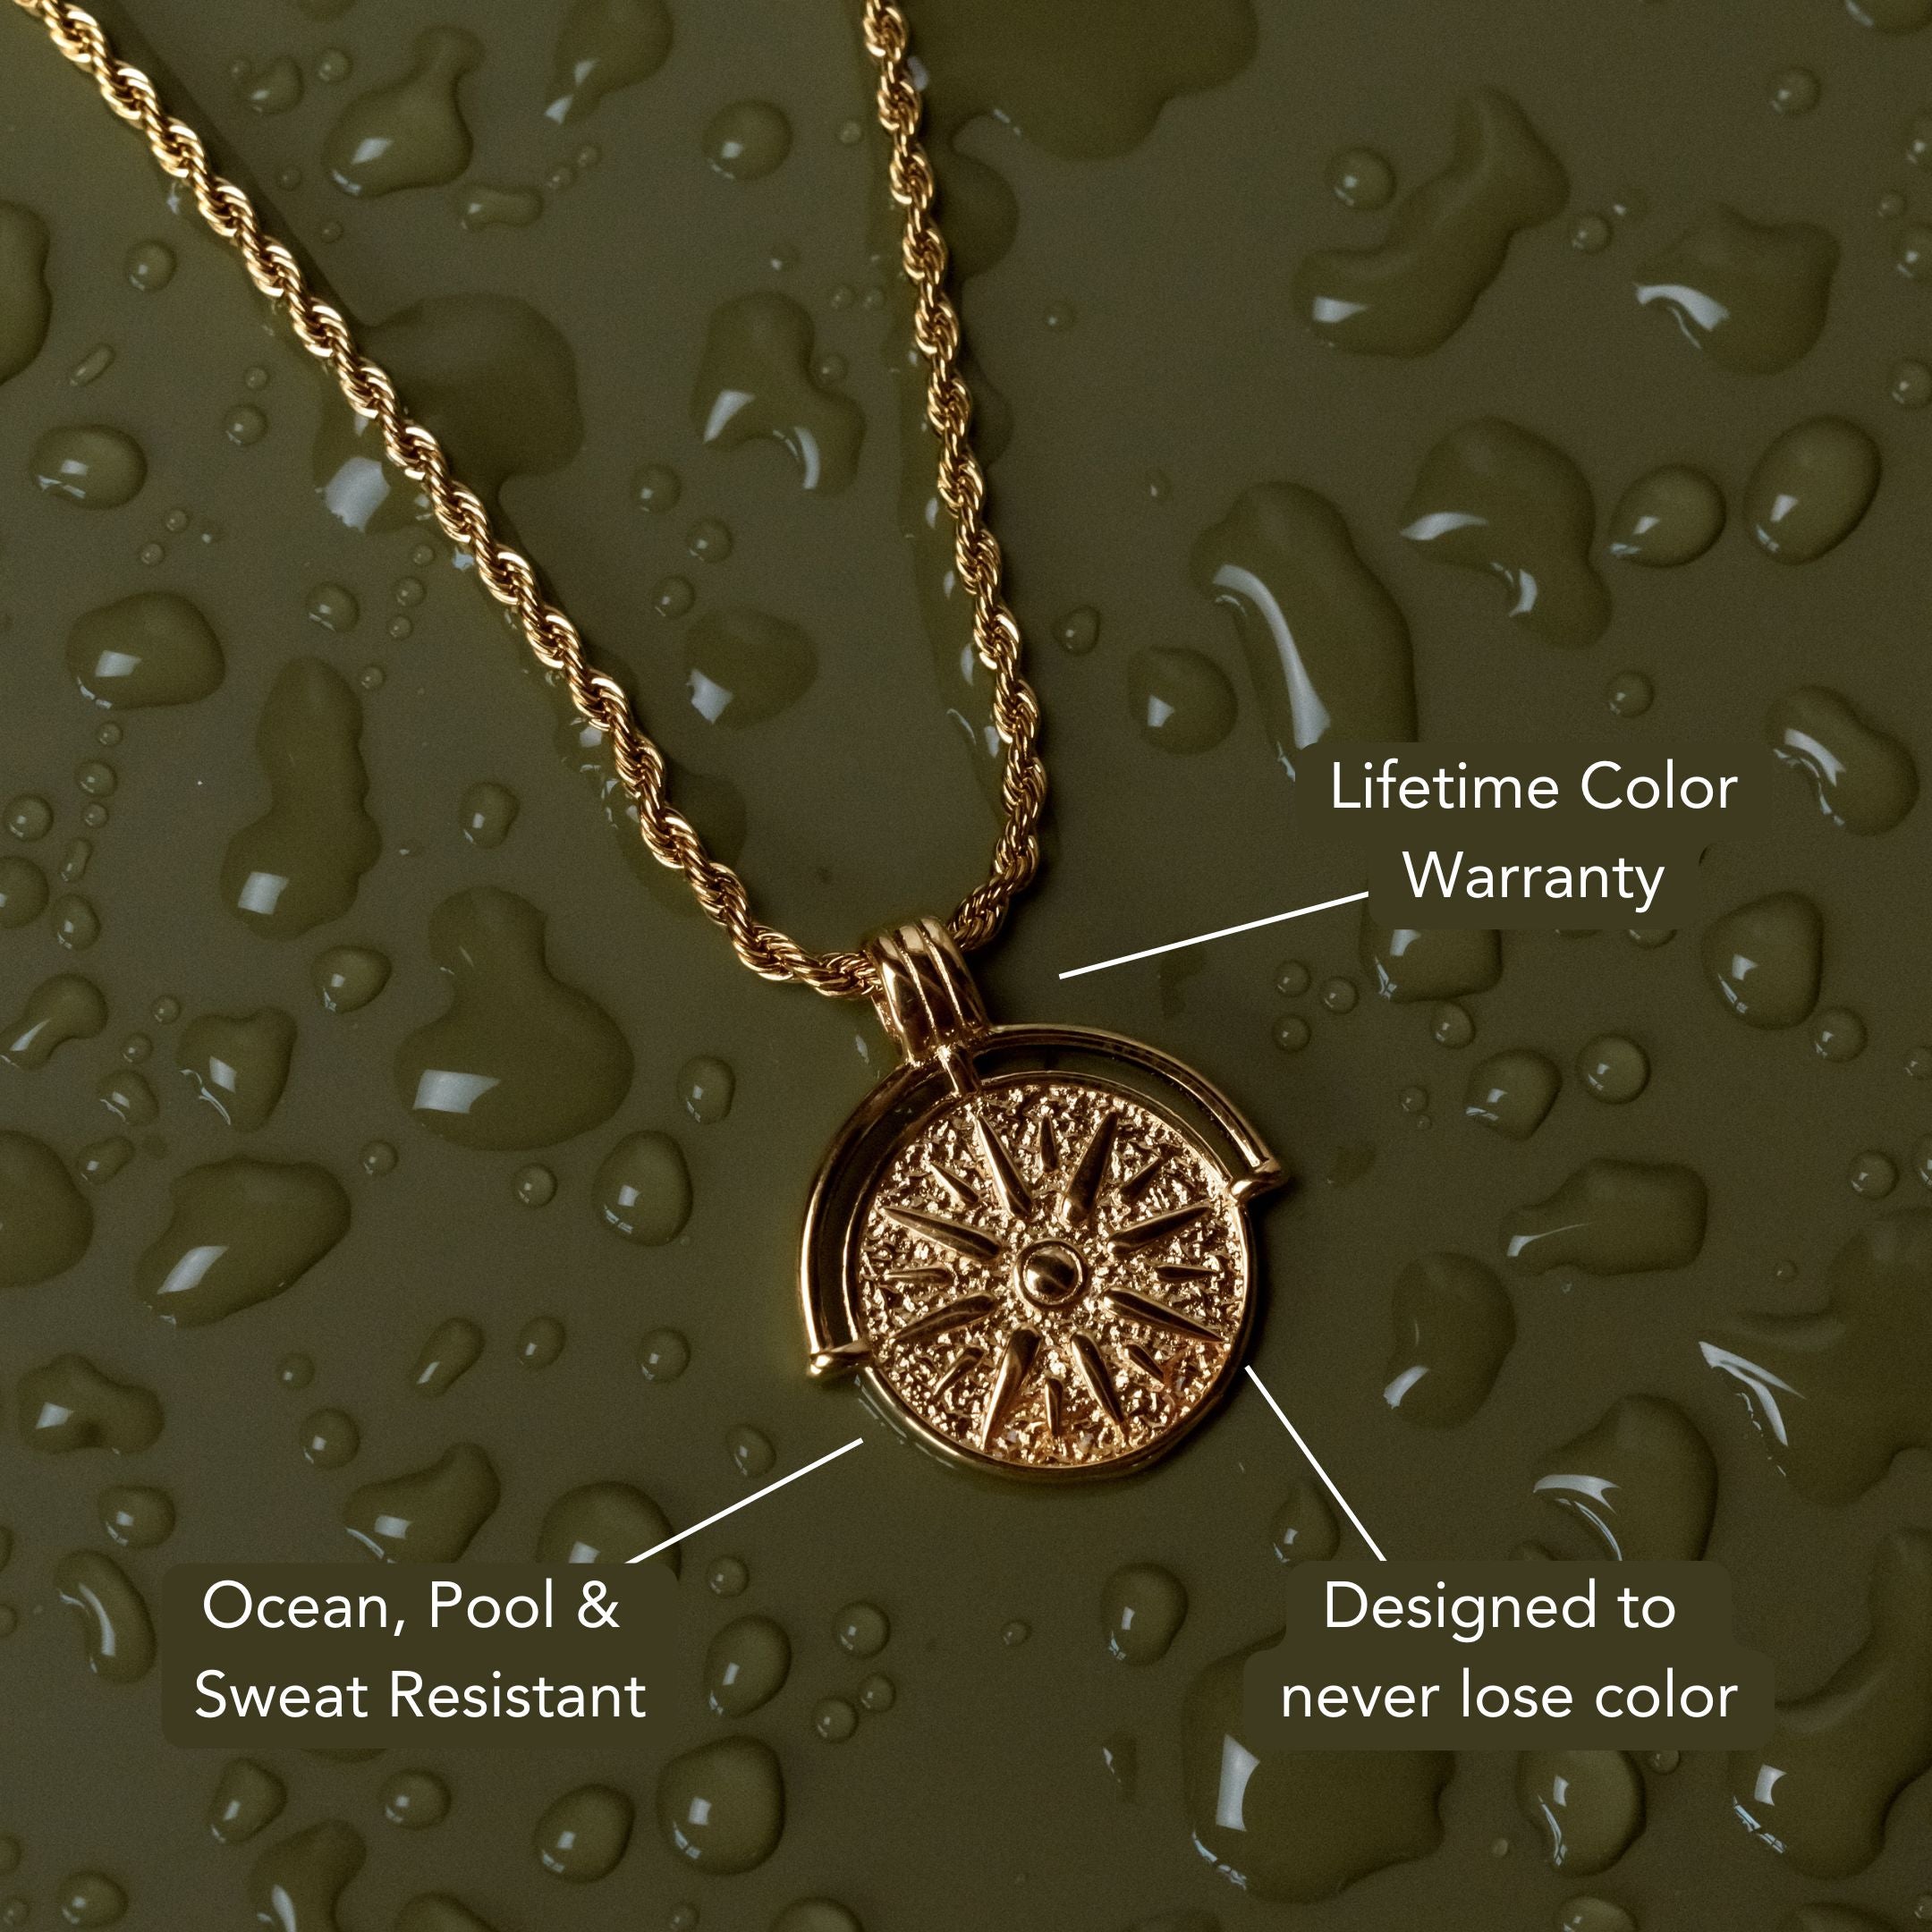
Pro Tips on How to Shorten a Pearl Necklace Safely
Learning how to shorten a pearl necklace starts with precise preparation. Begin by defining your target length in millimeters and documenting the current bead order and graduation. Choose thread to match the weight (2-ply silk for fine akoya; 3-ply silk/poly for heavier pearls), needles that fit the holes, and the right size of French wire. Unstring the necklace on a padded surface, protect the drill holes, and measure the pearl span minus the clasp. Re-knot with consistent tension, mirror counts from the center, and align the clasp carefully. Clean, inspect, and stress-test your finished piece. For inspiration, explore Atolea’s elegant Mini Pearl Necklace collection before you begin.
Assessing Length, Layout, and Balance Before You Start
Blueprints matter. Before altering a strand, define your length preference in millimeters and document the current layout. Measure the total strand length under gentle tension, then calculate the target reduction.
Map bead order: count pearls, note graduation, outliers, and symmetry about the clasp. Photograph and sketch positions, including station beads, knots-per-bead, and spacer intervals.
Evaluate balance. Center the visual apex; guarantee mirrored counts from center to each end after removal. For graduated strands, plan removals in pairs near the clasp to preserve flow.

Record bead diameters with calipers to maintain taper. Address design considerations: clasp placement, drape over collarbones, and how curvature shortens apparent length when worn.
Mark cut points with removable tape. Prepare a labeled tray for sequenced components before disassembly.
Choosing the Right Thread, Needles, and French Wire
Although pearls are forgiving, your materials aren’t: select a thread, needle, and French wire that match pearl size, hole diameter, and wear demands.
Choose thread types by fiber and twist: two-ply silk (size E–FF) for fine akoya, three-ply silk or polyester for heavier strands, and high-tenacity nylon for frequent wear. Match diameter so knots seat snugly without abrading drill holes.
Pick needle sizes that pass cleanly yet don’t enlarge holes. Use collapsible-eye needles sized 2–4 for small holes; size 5–6 for larger drills. For thick threads, switch to a micro-twist wire needle to reduce bulk.
Size French wire (gimp) to the clasp loop and thread: 0.6–0.8 mm for fine clasps, 0.9–1.2 mm for heavier findings.
Select tarnish-resistant sterling or gold-filled to protect the clasp junction.
Safely Unstringing and Protecting Pearls During Work
With thread, needles, and French wire selected to fit your pearls, prepare a controlled teardown that won’t stress nacre or stretch drill holes.
Lay a lint-free pad, line a groove with soft foam, and use trays to keep pearls in sequence. Stabilize the clasp with micro clamps. Snip the old thread near the clasp, then withdraw it slowly, guiding each pearl off with fingertip support.
For pearl preservation, never drag pearls across metal or abrasive surfaces. If knots resist, moisten lightly with distilled water and tease with a fine awl; don’t force.
Plug each drill hole with inert, powder-free silicone earplugs or Tyvek flags to block dust. Wipe pearls with a barely damp microfiber, then dry immediately.
Store them in labeled channels while you prepare new stringing techniques.
Measuring, Planning, and Marking Your New Finished Length
Measure twice, cut once applies here. Fit test the strand on your neck or a sizing mandrel, noting the desired resting point at the notch or clavicle.
Use calibrated measuring tools—steel ruler, flexible tape, digital calipers—to record total target length, accounting for clasp, jump rings, and French wire. Log component lengths precisely.

Apply planning techniques: subtract hardware length from the target to determine the pearl span. Map pearl counts by averaging diameter from a 10-pearl sample; compute total span and adjust by removing or adding specific pearls.
Mark the new terminal points with low-tack tape flags and a fine, non-bleeding pen on temporary thread ends, not on pearls. Create a cut sheet documenting measurements, sequence, and orientation so reassembly matches the planned finished length.
Techniques for Knotting Between Pearls for Even Spacing
Before you cut, standardize your knotting method so each pearl sits at a consistent interval and the finished length matches your plan. Use matched silk or nylon and pre-stretch it. Calibrate pearl spacing with a spacer gauge or a marked dowel.
Employ consistent knotting techniques: make a simple overhand knot, seat it with fine-tipped tweezers beside the pearl, then set tension with a tri-cord knot pusher or awl. Maintain uniform pull force to avoid drift.
Pre-load three pearls; after each knot, slide the next pearl tight to the knot before forming the next. Burnish knots lightly to compact fibers. Verify spacing every five pearls with digital calipers; tolerance should stay within ±0.2 mm.
If spacing shifts, cut back one knot and correct immediately.
Attaching and Aligning the Clasp for Proper Drape
Although your knots now lock in even spacing, the clasp determines how the necklace hangs, so attach it in axis with the strand’s centerline.
Establish correct clasp placement by orienting the tongue, hook, or box mechanism so its longitudinal axis aligns with the drill line through the terminal pearls.
Evaluate clasp types: fishhook and box clasps favor centered alignment; ball clasps rotate, so seat them against a fixed French wire to control yaw.
Thread twice through the end pearl, gimp/French wire, and clasp ring; cinch so the gimp sits flush without splay.
Set the terminal knot tight to the gimp, not the clasp.
Mirror the procedure on the opposite end, matching tension.
Before trimming, confirm the necklace drapes symmetrically with the clasp centered.
Cleaning, Inspecting, and Stress-Testing the Restring
Once both ends are secured, remove residual wax and debris so you can evaluate the work without contaminants masking faults.
Begin by cleaning pearls with a barely damp, lint-free cloth; avoid detergents and ultrasonic units. Dry thoroughly before inspection. Under bright, angled light, examine each drill hole for chipping and check for uniform spacing.
Continue by inspecting knots: confirm tight, seated knots with no fraying, glazing, or visible gaps. Measure knot size consistency and ascertain the terminal knots abut the clasp components without creeping into drill holes. Verify the thread path is untwisted.
Stress-test methodically. Wrap the strand in a soft towel and apply incremental, even tension along 1–2 inch sections, listening for creaks and watching for elongation.
Perform a clasp-cycle test: open/close 20–30 times while monitoring knot migration and strand torsion.
When to Seek a Professional Jeweler’s Help
Even with careful technique, certain conditions warrant handing the necklace to a professional. If pearls are antique, high-value, or matched for overtone, you shouldn’t experiment with when to DIY—tolerance for error is near zero.
Seek help when shortening involves graduated strands, multiple strands, or an invisible/mystery clasp.

Evaluate signs of damage before proceeding. Pitting, edge chipping at drill holes, hairline nacre cracks, enlarged drill holes, or a squeak when pearls rub indicate compromised nacre.
Frayed silk near knots, green corrosion around metal components, or a sticky clasp also signal risk.
Professionals can rebalance symmetry, ream safely, and replace end pearls to maintain diameter progression. They’ll ultrasonically clean metal parts, use proper French wire, and tension-test.

If you’re unsure, prioritize professional restringing and shortening.
Frequently Asked Questions
Can I Shorten a Pearl Strand Without Removing the Clasp?
Yes, but it’s rarely advisable. You’ll slide off pearls, cut, and re-knot near the clasp without full clasp removal. Prioritize pearl preservation: use silk, double knots, French wire, and maintain tension to prevent abrasion and breakage.
How Does Shortening Affect Necklace Resale Value?
Shortening typically lowers resale value. You alter original length, disturb matching, and risk damage. Resale factors include symmetry, uniformity, workmanship, and documentation. Preserve removed pearls, maintain pearl condition, retain original clasp, and provide before/after measurements to mitigate devaluation and reassure buyers.
Are Cultured and Natural Pearls Restringed Differently?
Yes. You’ll restring cultured pearls and natural pearls with similar knots, but you’ll adjust tension, drill tolerance, and cleaning. Cultured pearls tolerate standard silk and micro-drilling; natural pearls demand lower tension, finer needlework, minimal drilling, and meticulous authentication.
What Insurance Covers Damage During DIY Restringing?
Typically, homeowners or renters insurance policies cover accidental damage, but only with a scheduled jewelry rider. You’ll need current jewelry appraisals, photos, and proof of ownership. Exclusions often apply to wear-and-tear; confirm coverage for DIY restringing before proceeding.
Can I Convert Leftover Pearls Into Matching Earrings?
Yes. You can convert leftover pearls into pearl earrings. Select matched sizes, drill precisely, set on posts or leverbacks, and secure with epoxy. Guarantee jewelry matching by color, luster, and overtone. Consider professional setting for durability.
Conclusion
You’ve planned, protected, and measured, so execute the restring with discipline. Maintain consistent knot tension, verify symmetry at midline, and confirm the clasp seats without torque. Inspect drill holes, discard compromised pearls, and use fresh silk or synthetics matched to hole size. Burnish French wire, trim tails cleanly, and stress-test under gentle cyclic load. Clean with a damp cloth only. If you encounter fragile nacre, misdrilled holes, or valuable antiques, stop and hand the job to a professional.


Leave a comment
This site is protected by hCaptcha and the hCaptcha Privacy Policy and Terms of Service apply.