

How to Attach Clasps to Beaded Jewelry the Right Way
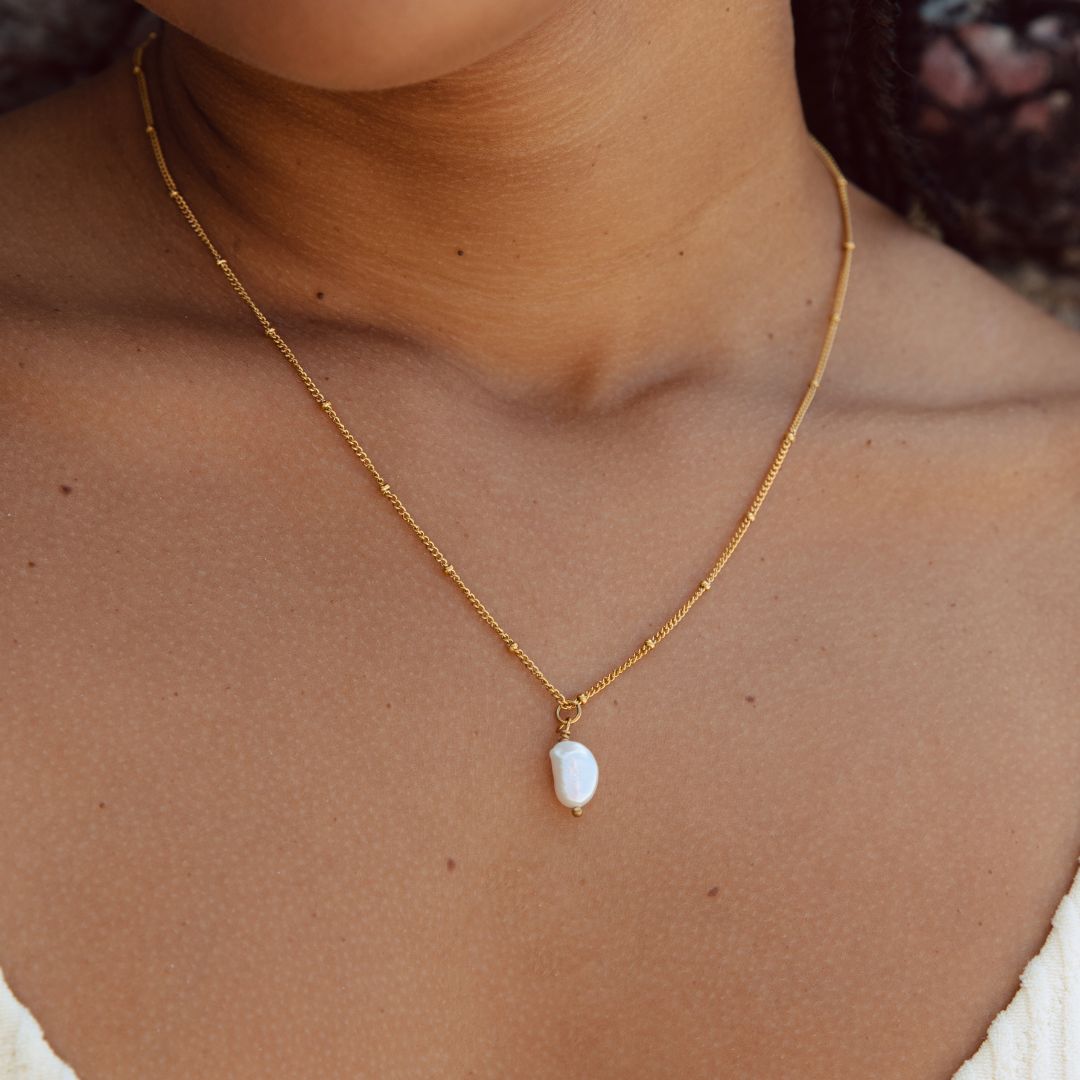
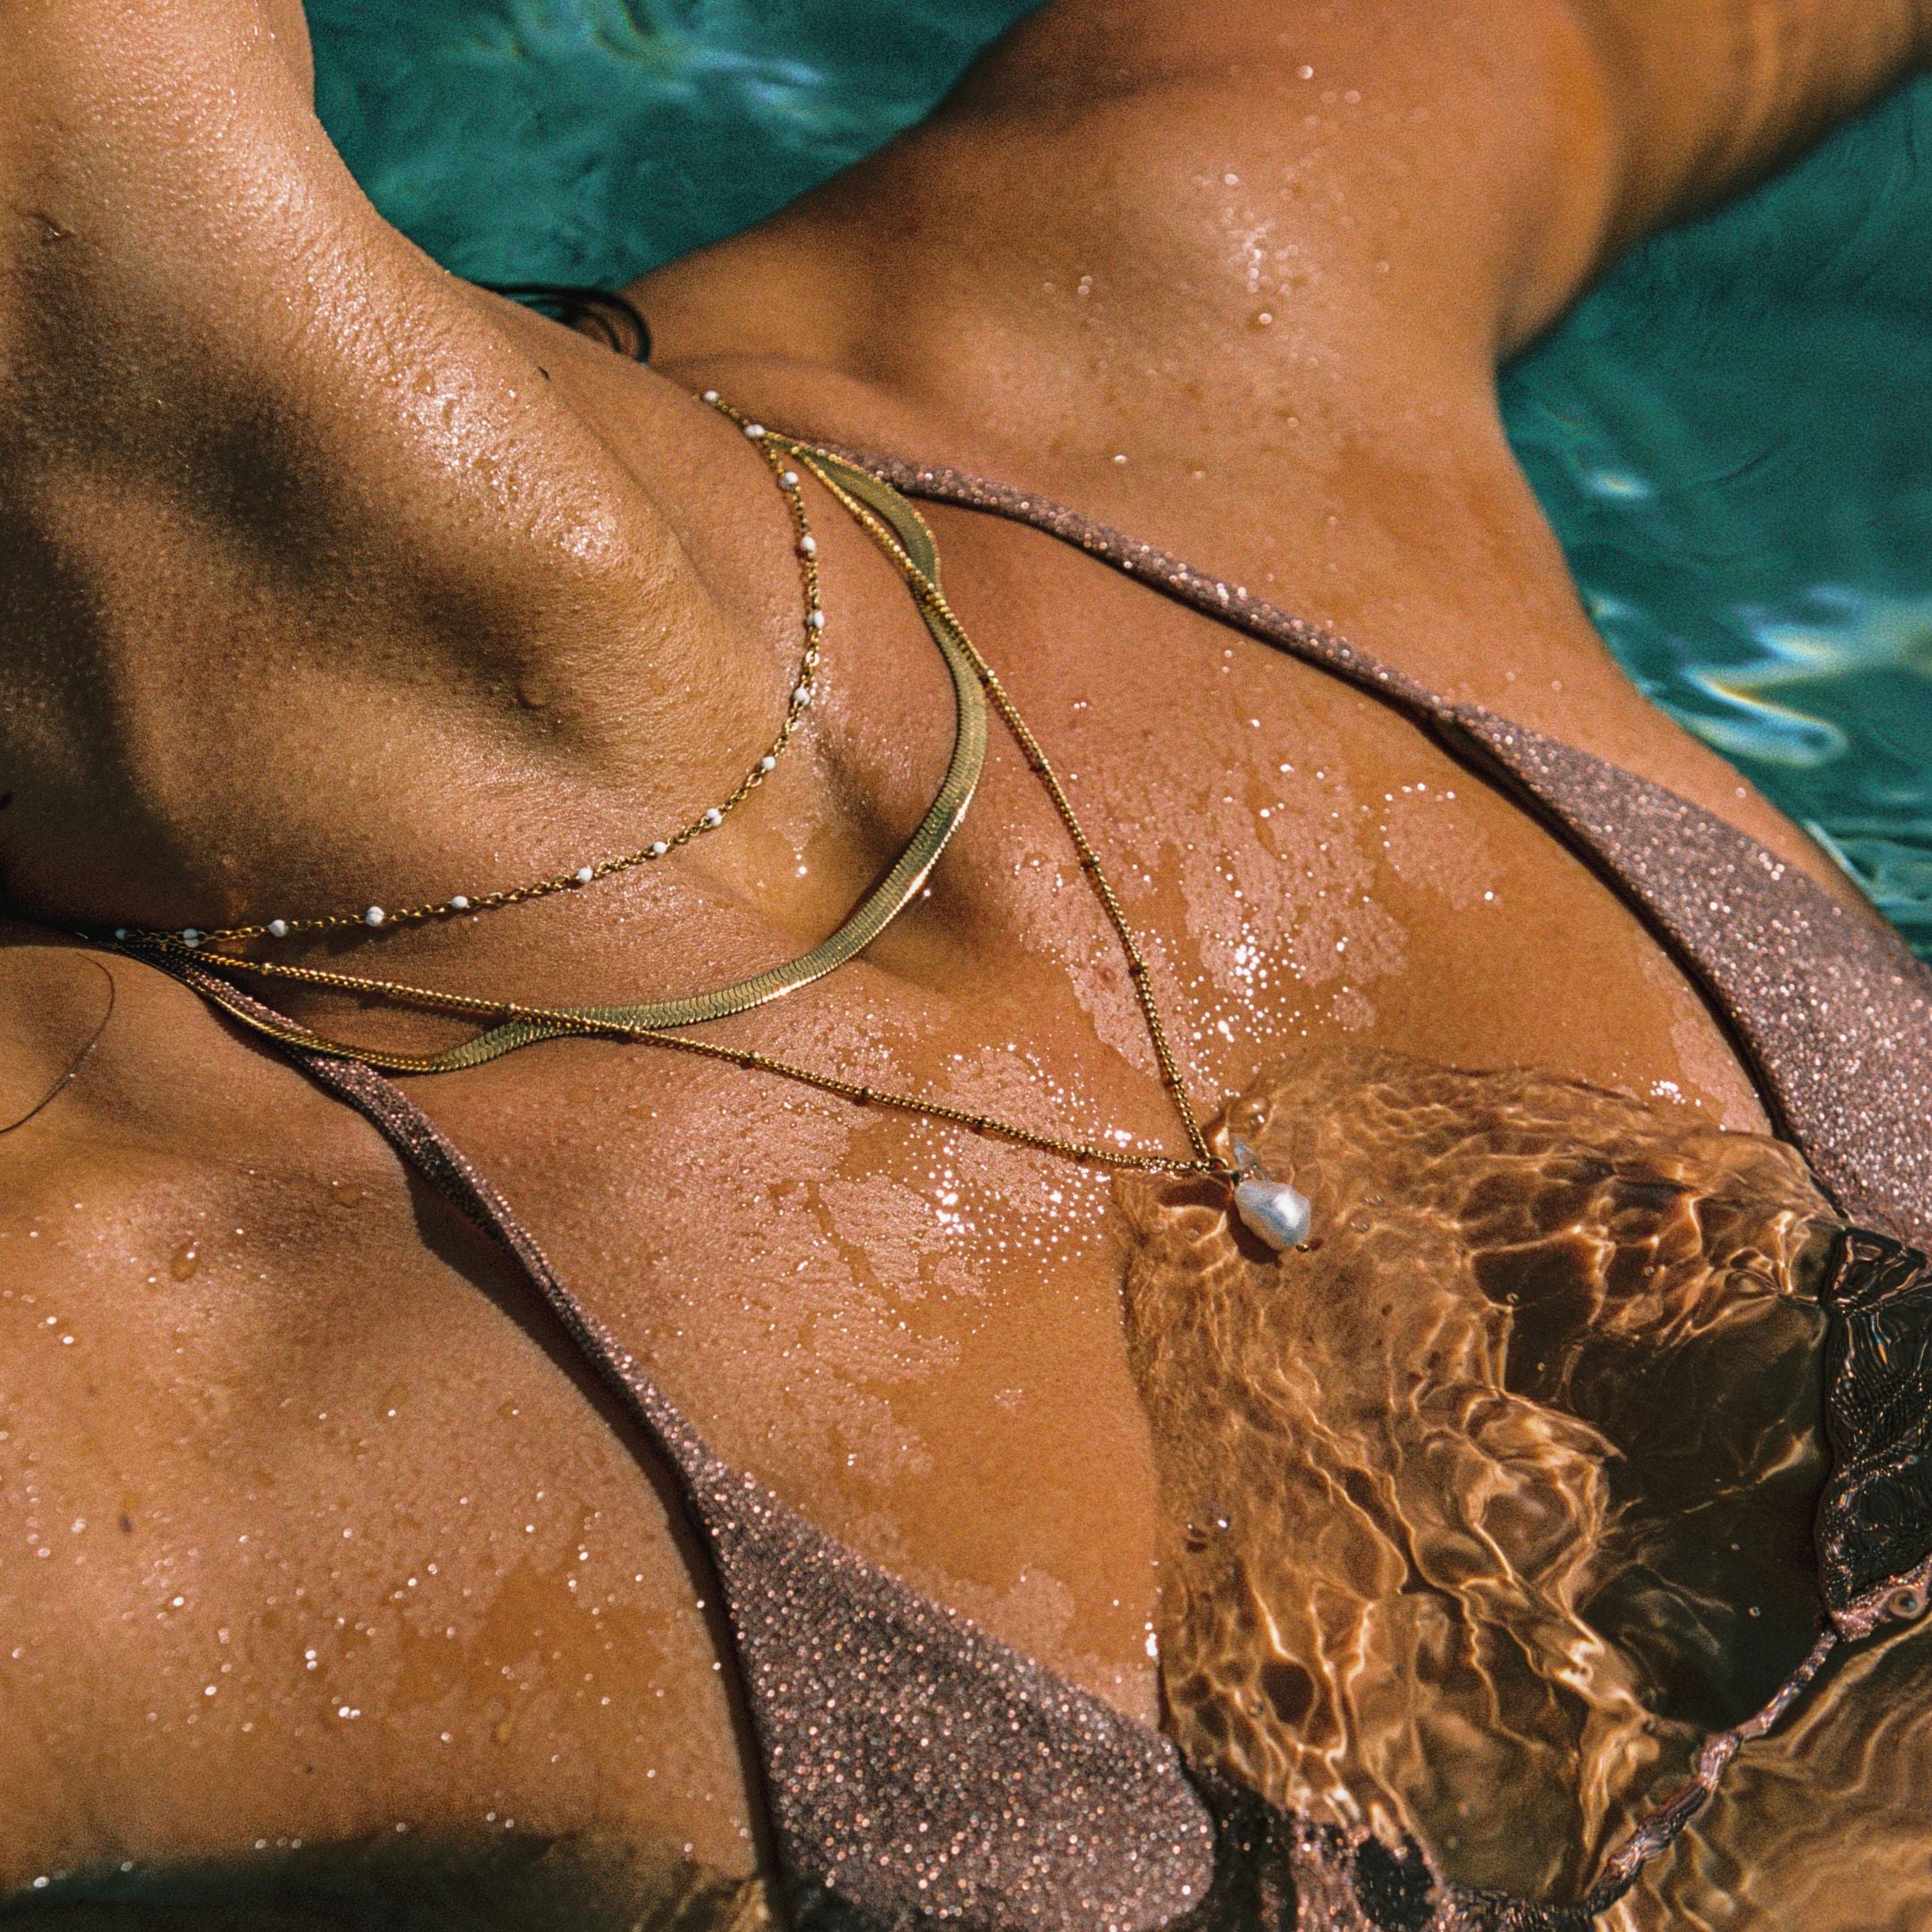
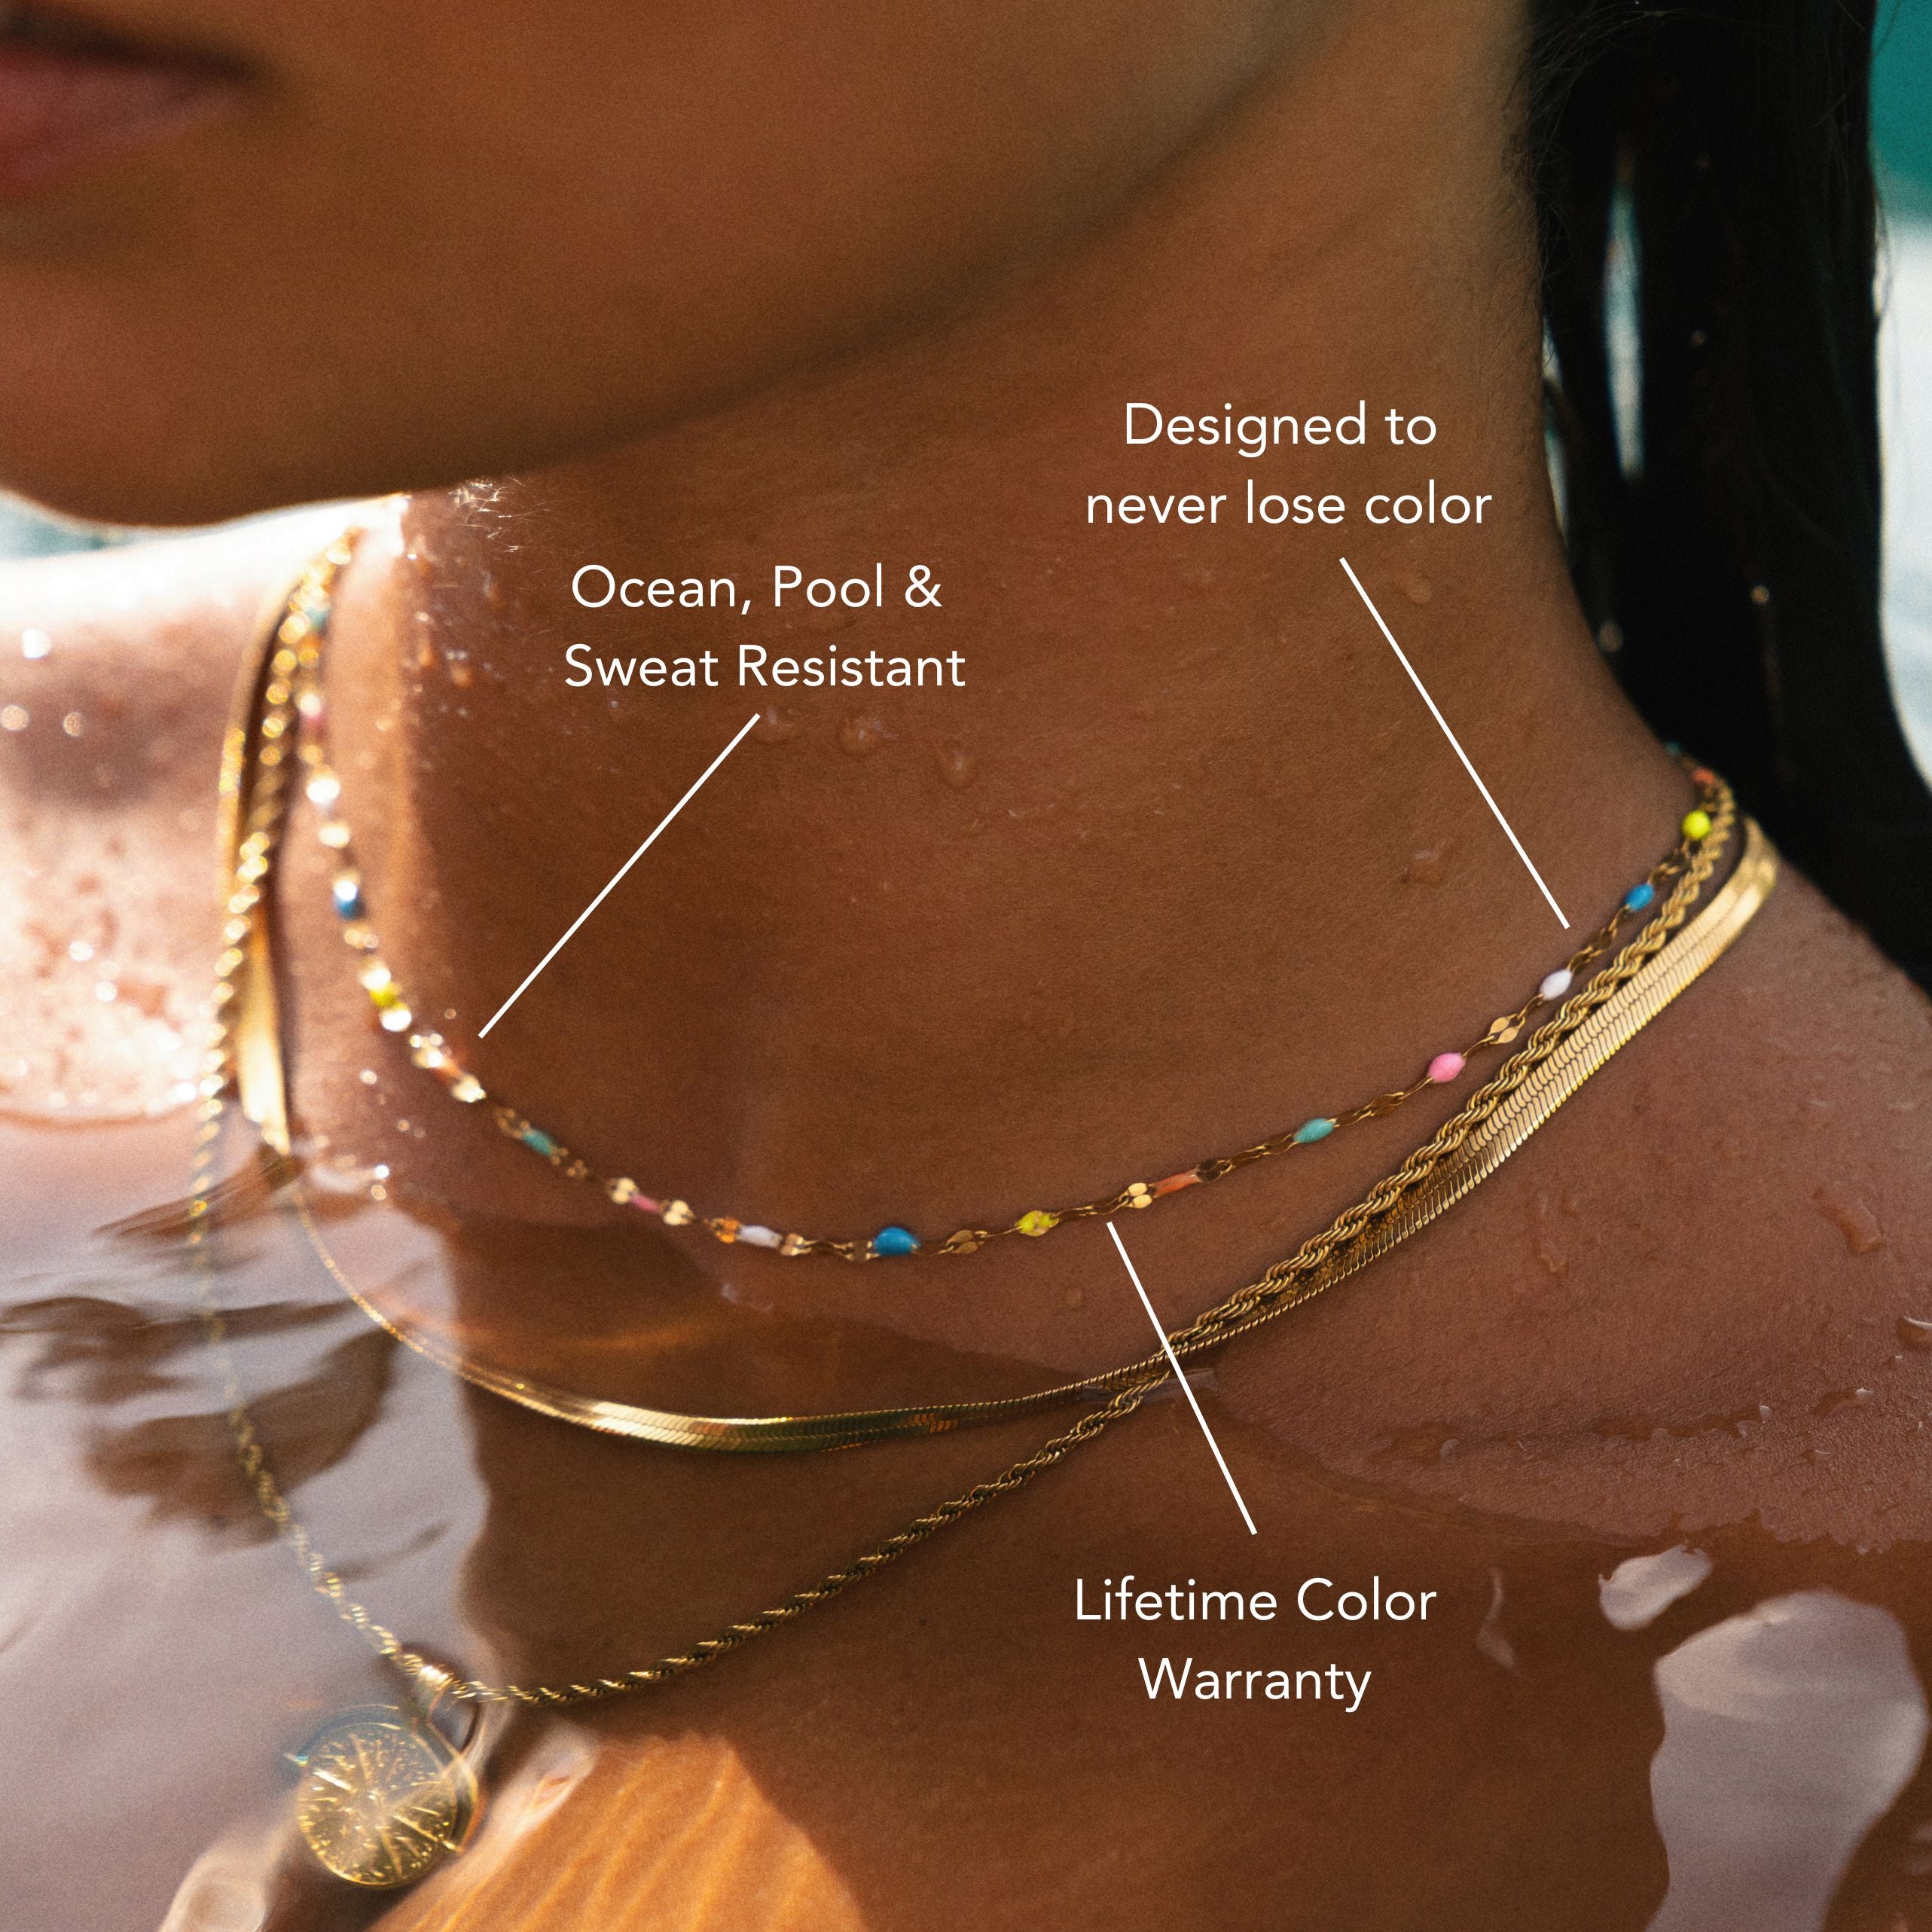
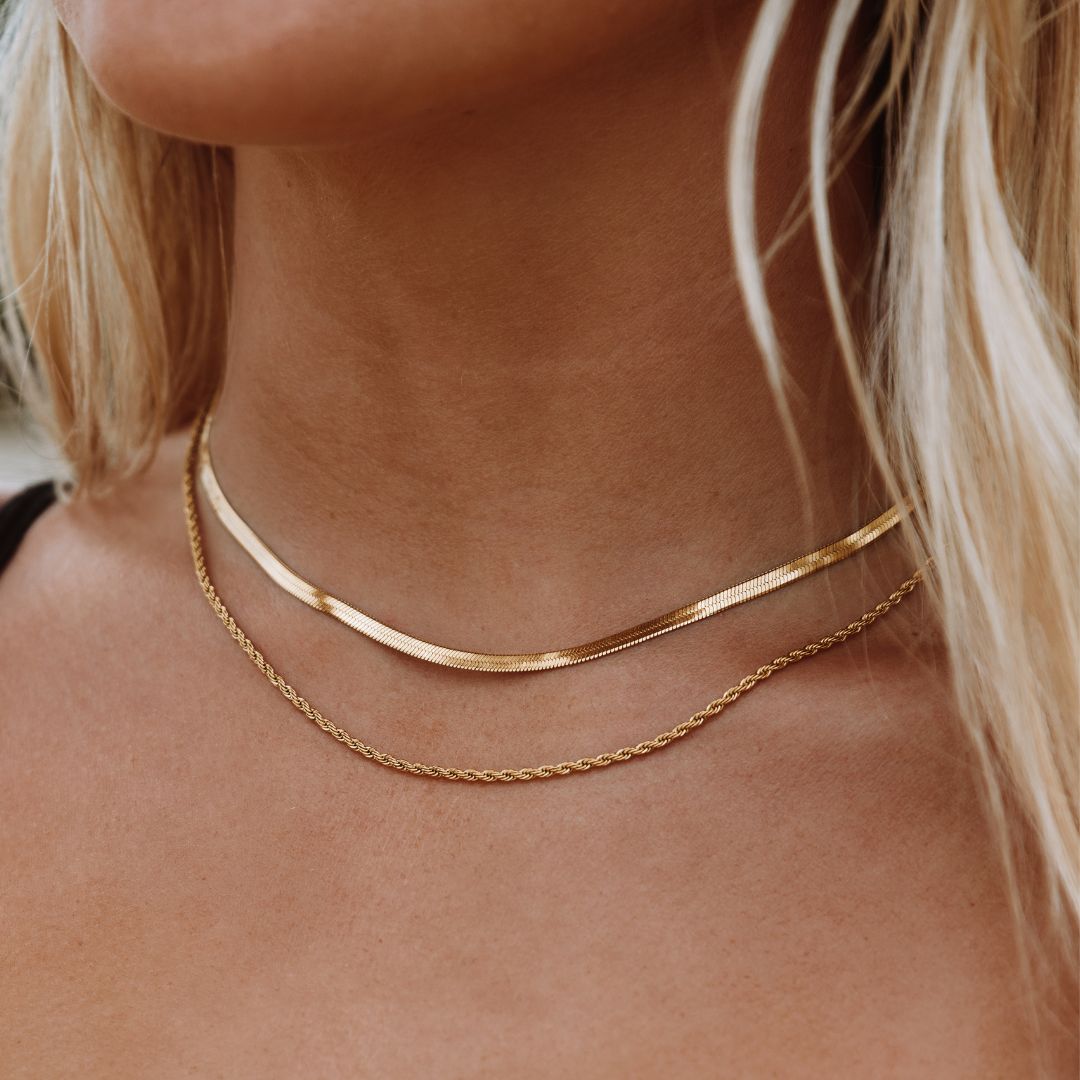
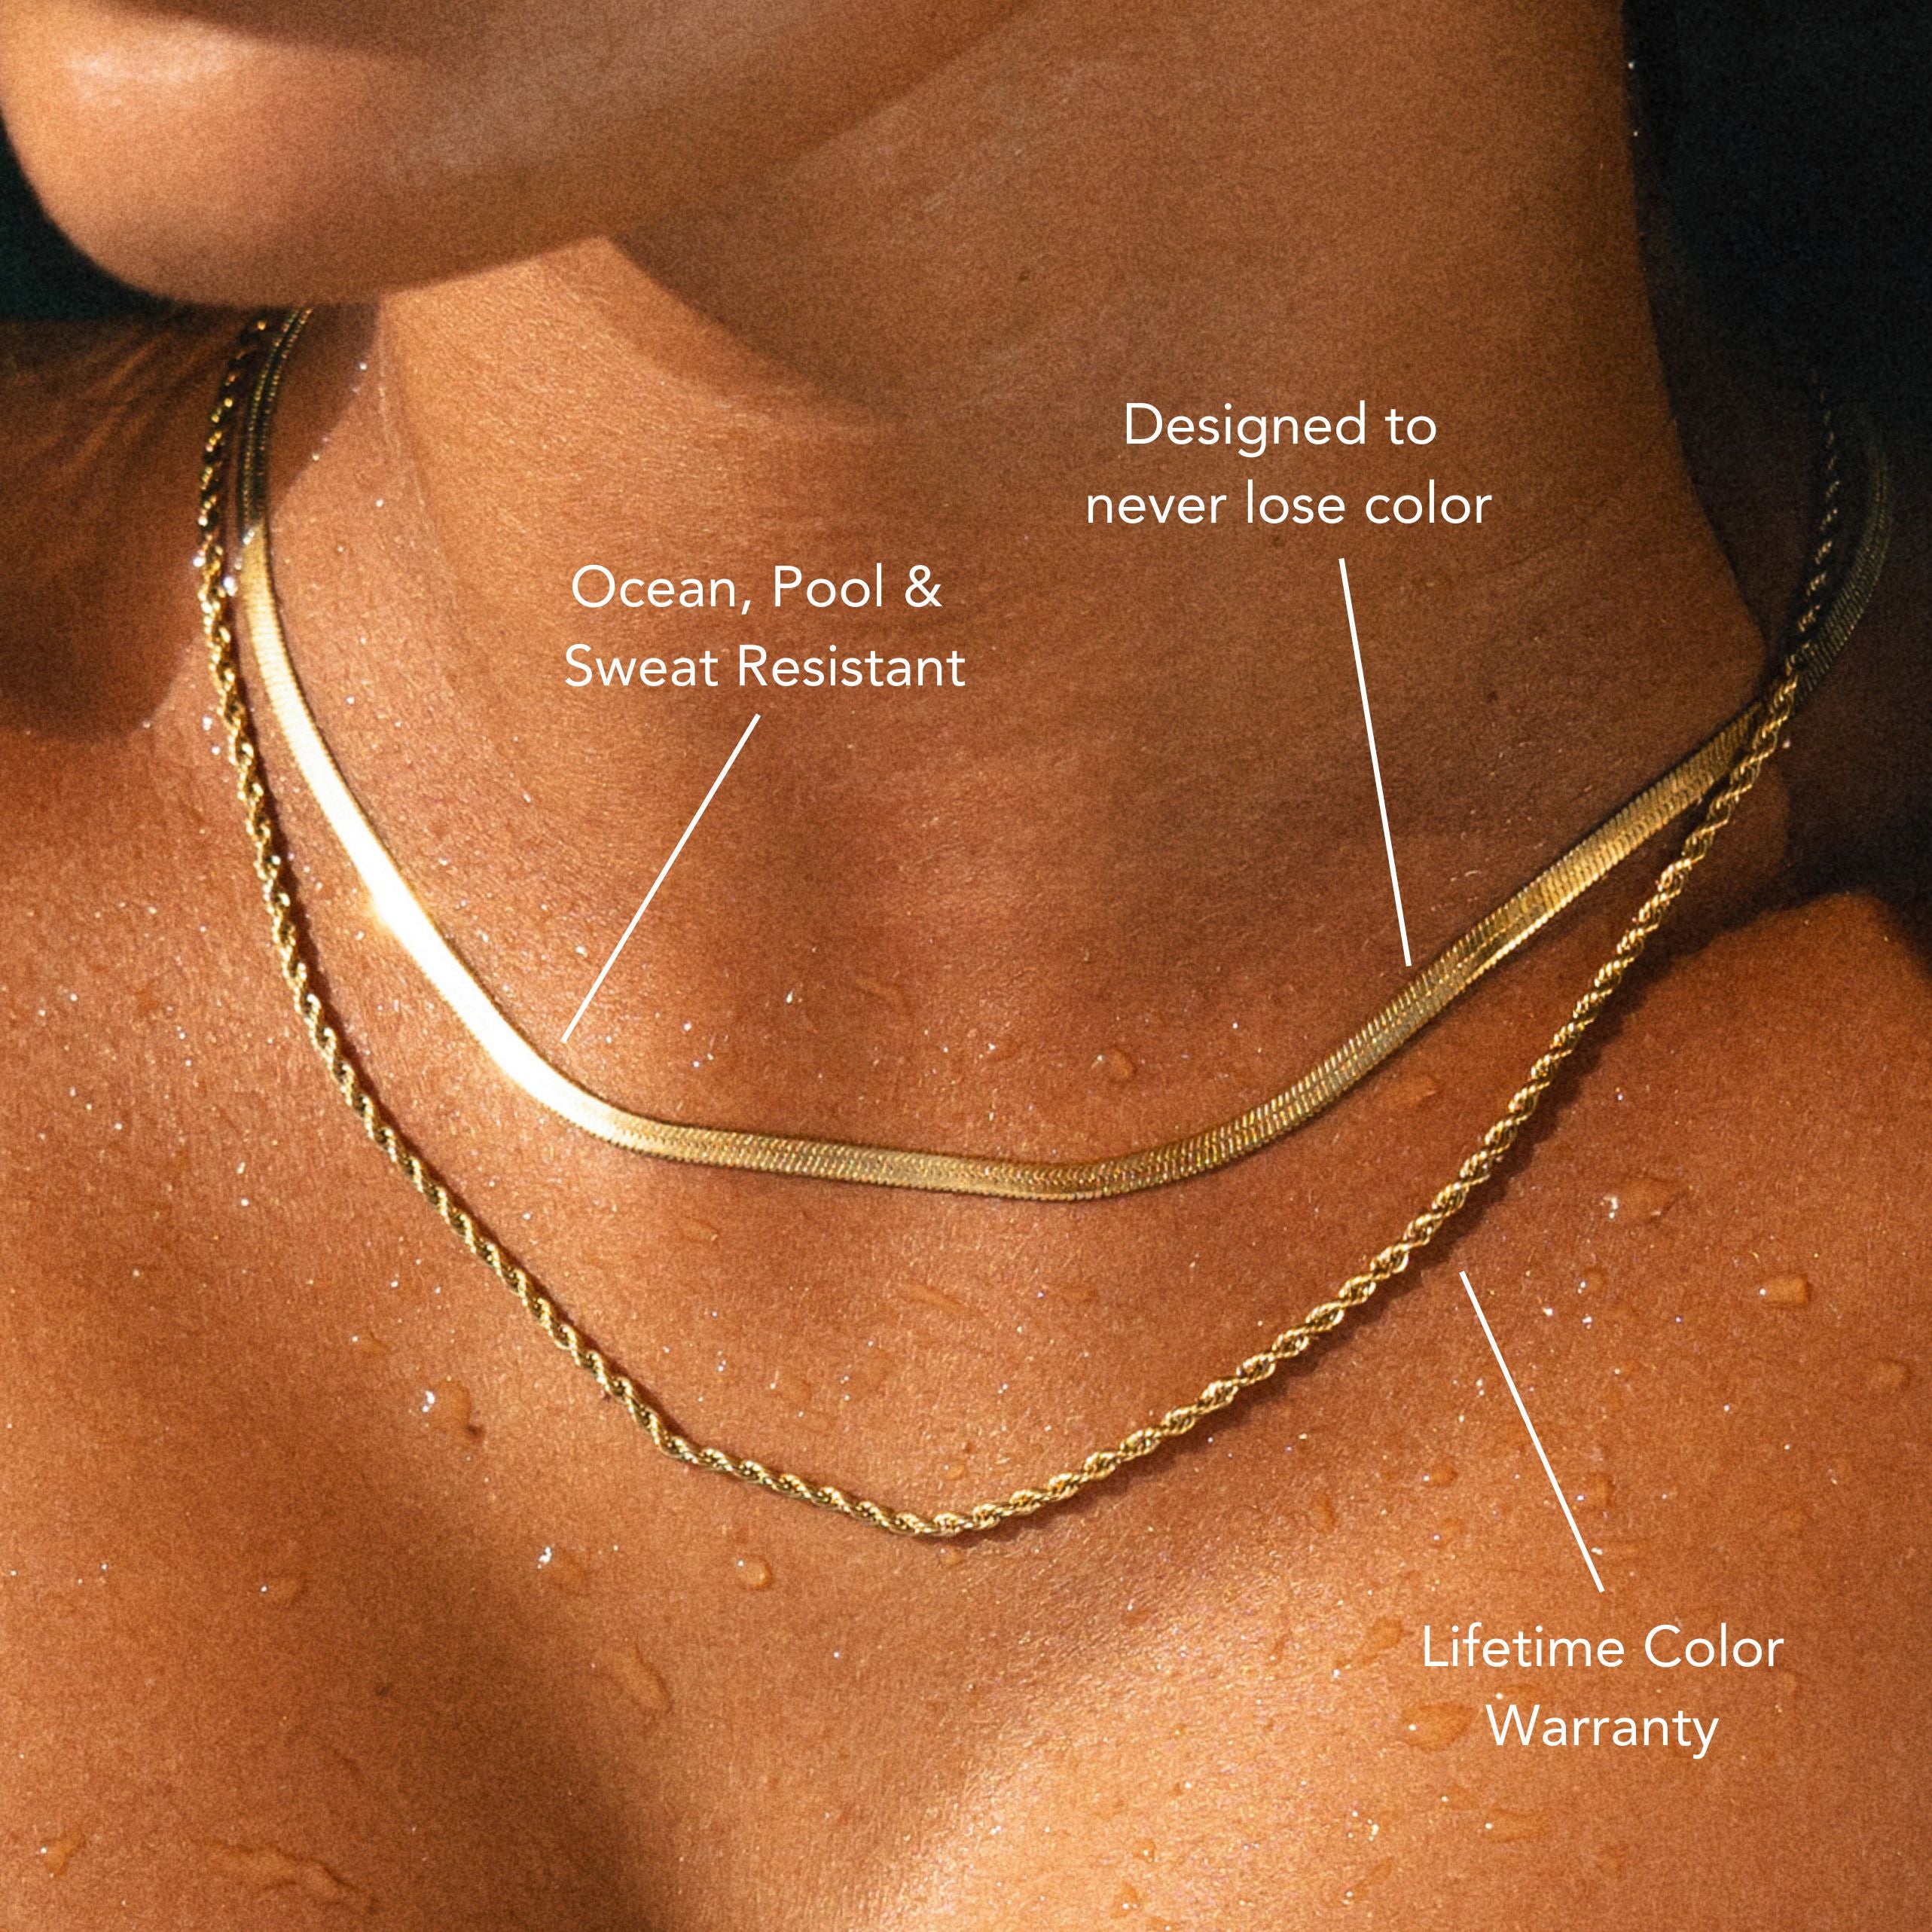
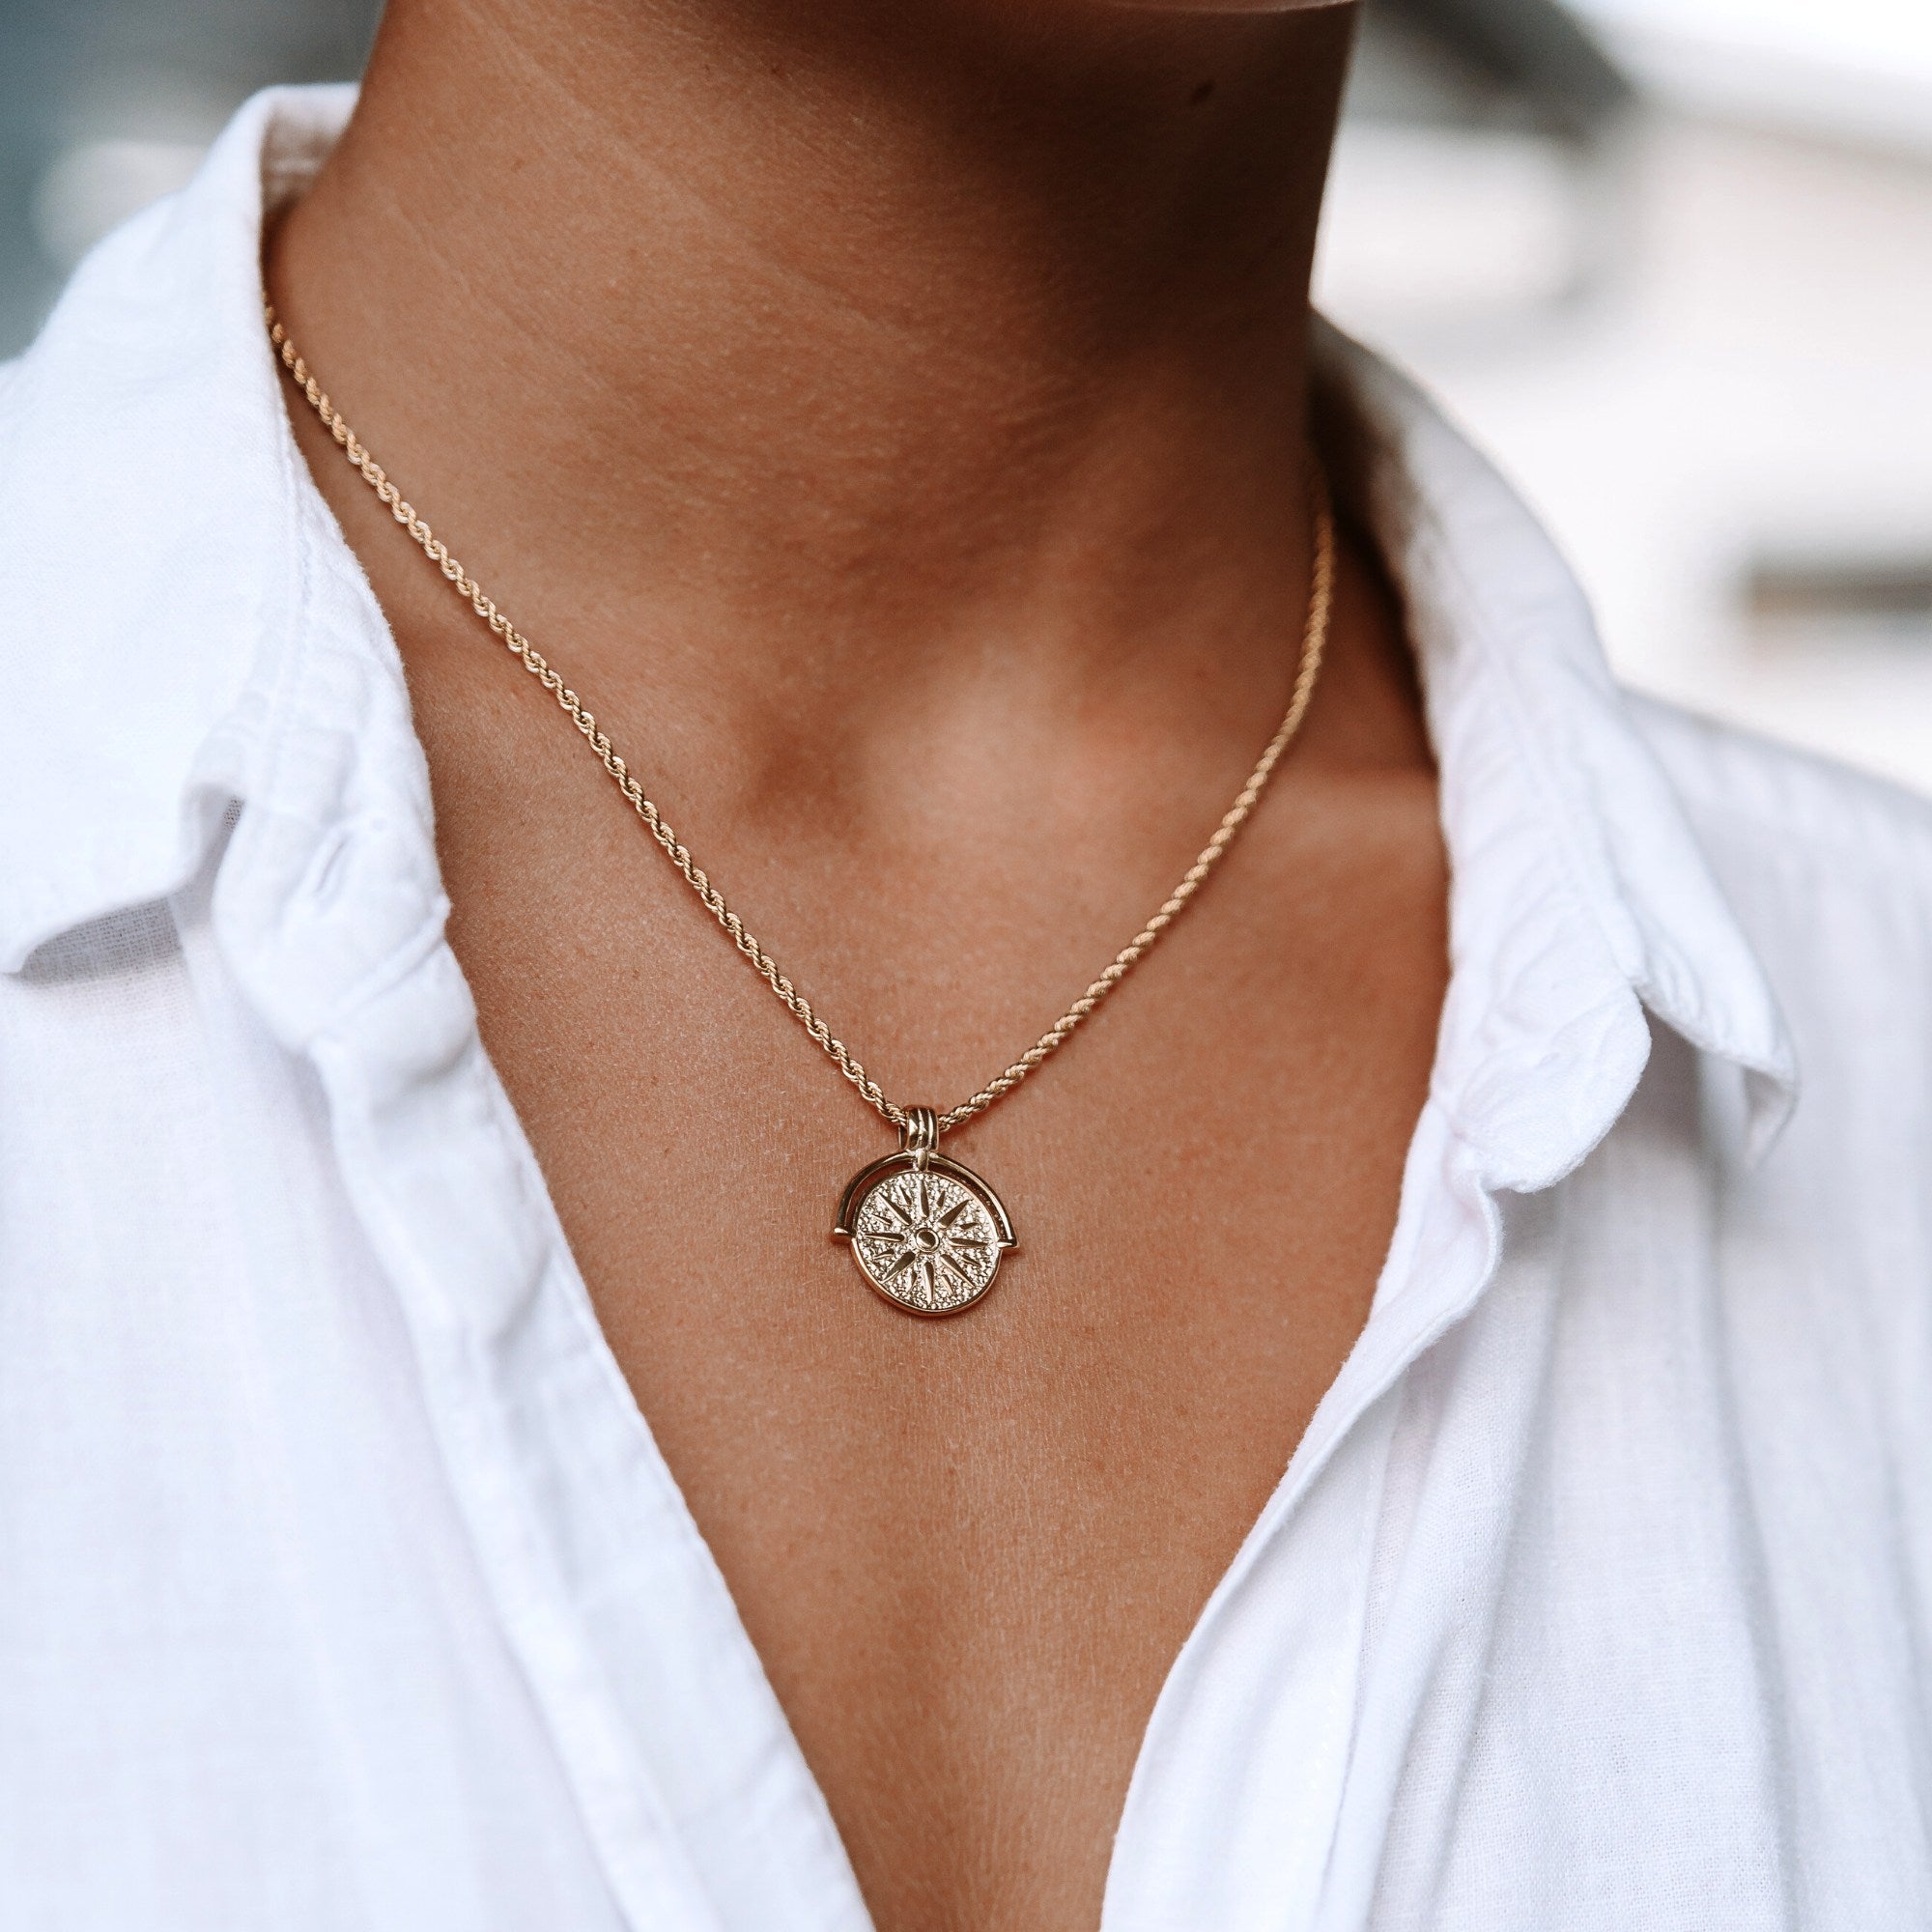
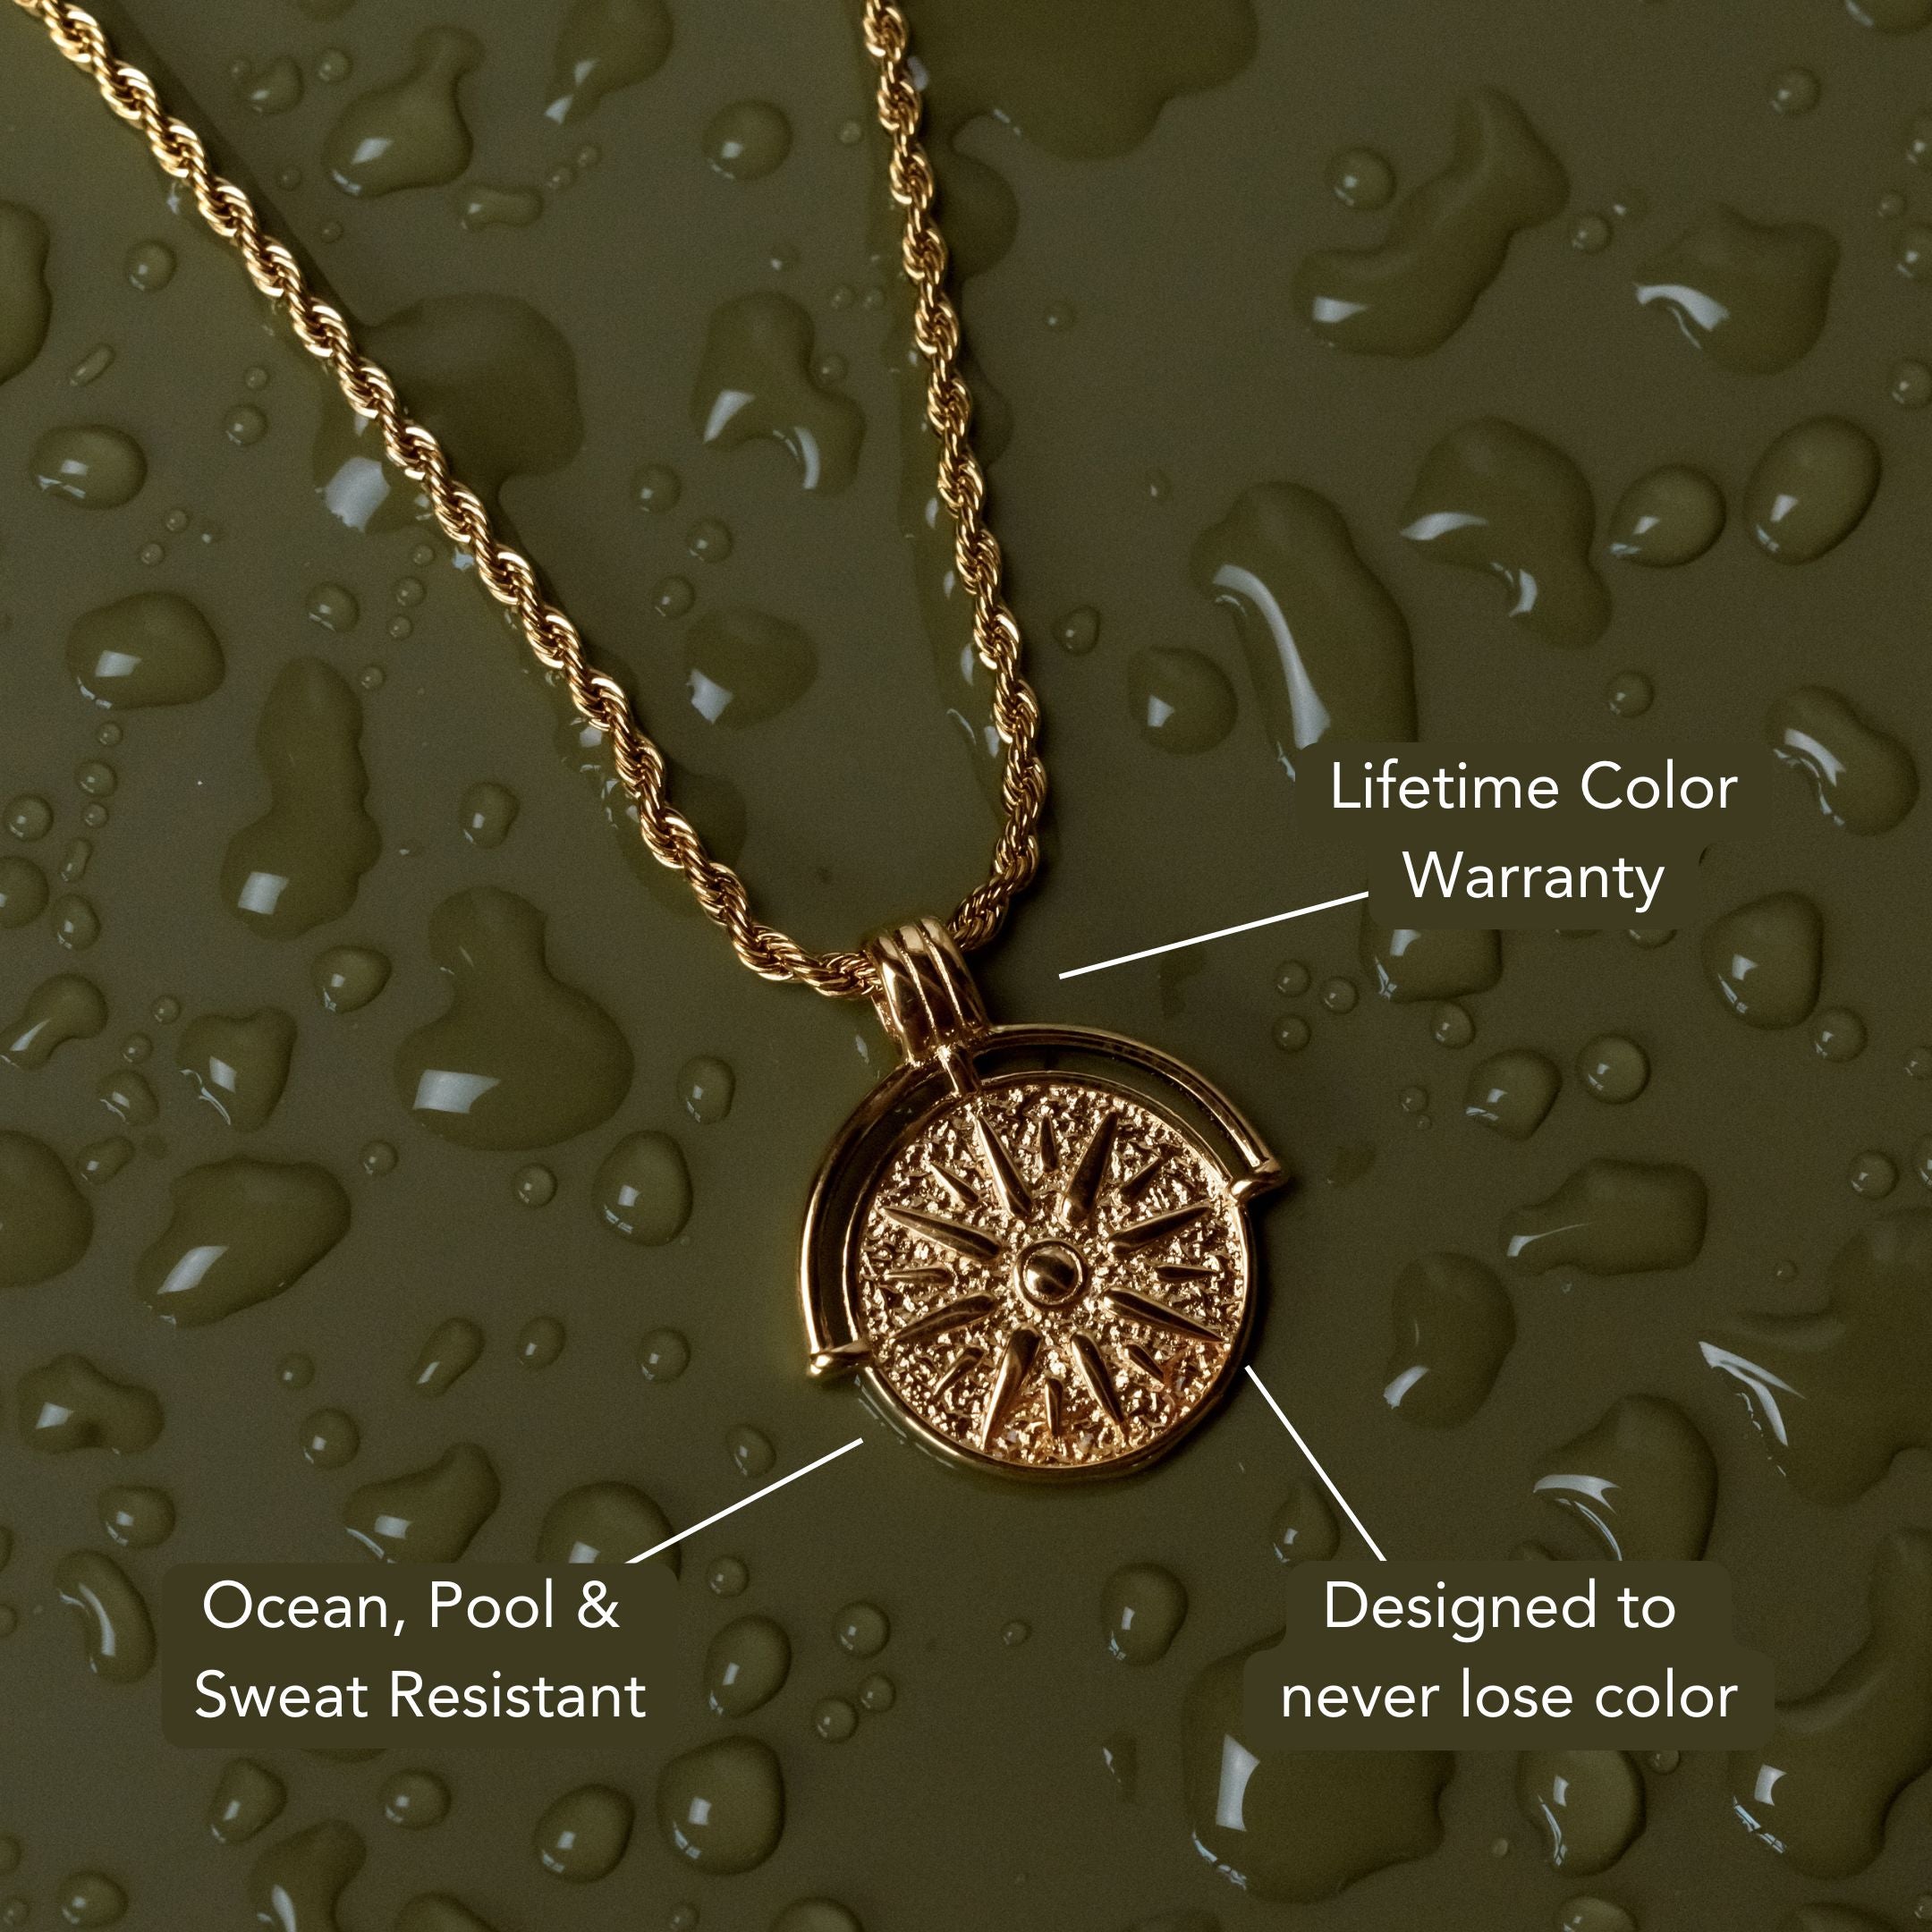
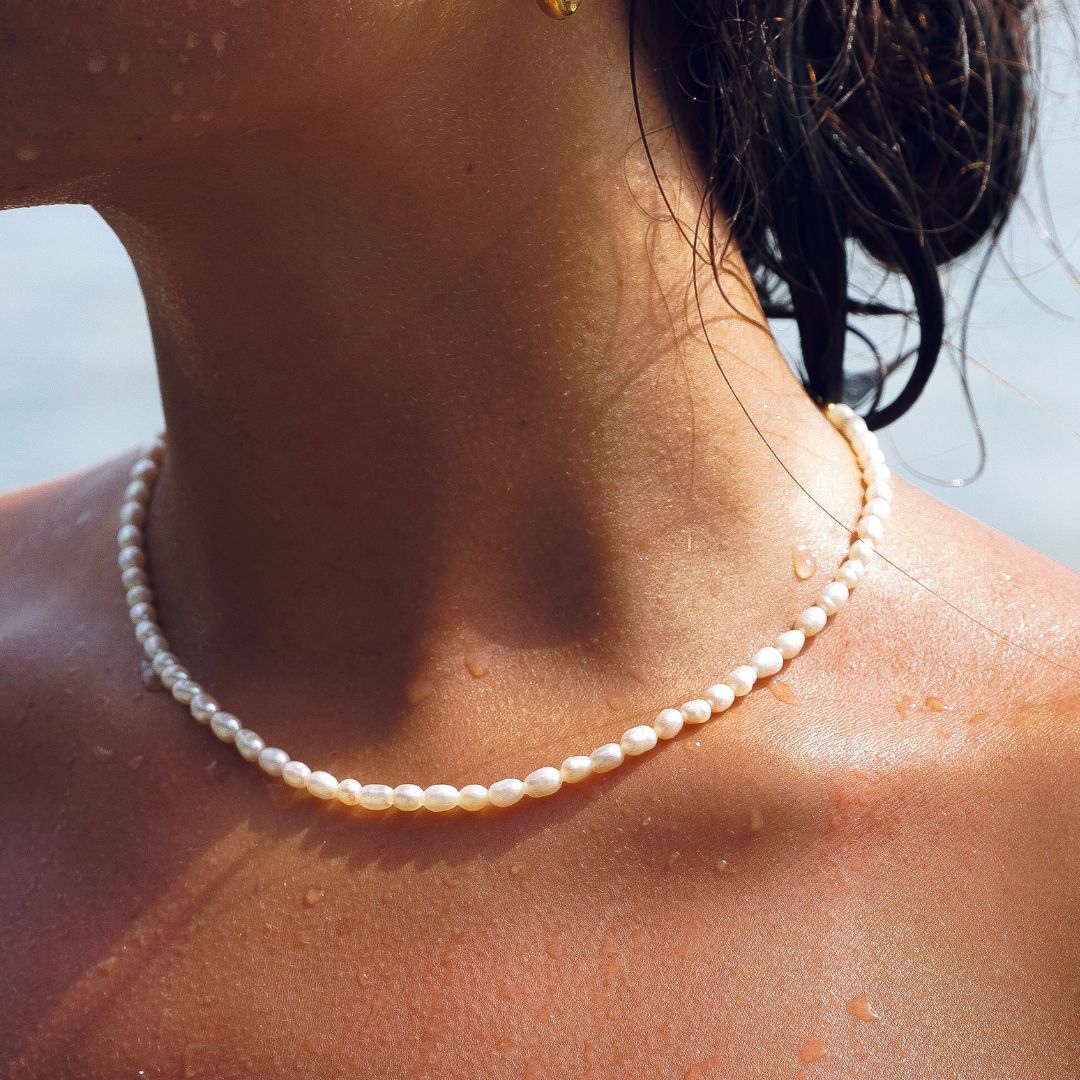
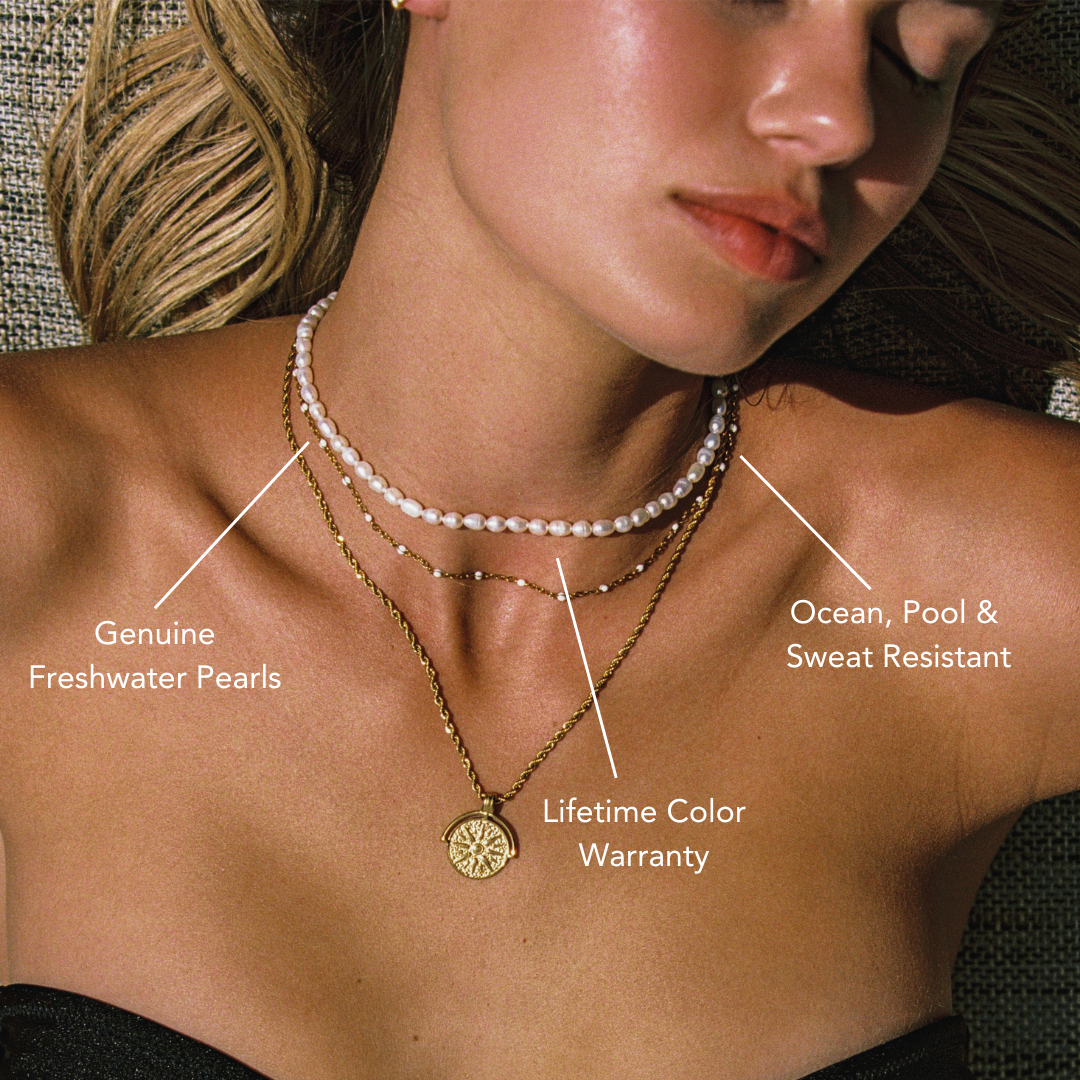
Learning how to attach clasps to beaded jewelry is essential for creating secure, polished pieces that last. Start by selecting a clasp that complements your design in both style and strength. Use tools like chain nose pliers, crimp beads, and jump rings to ensure a solid connection. Thread your beading wire through a crimp bead and the clasp, form a small loop, and compress the crimp tightly. Trim any excess wire for a clean finish and check that everything aligns smoothly. For pieces built to handle daily wear, explore our waterproof jewelry collection featuring durable, ocean-inspired designs. Keep reading for pro tips on troubleshooting and achieving that seamless, professional look.
Choosing the Right Clasp for Your Project
When you select a clasp for your beaded jewelry, consider both the function and the aesthetics of your piece.
Evaluate the weight and type of beads—heavier strands benefit from secure closures like toggle clasps, which offer both stability and visual interest. Toggle clasps are easy to manipulate and add a decorative element, making them ideal for statement necklaces or chunky bracelets.
For lightweight or delicate designs, magnetic clasps provide effortless fastening, perfect when you want a sleek, modern finish. Magnetic clasps are especially helpful for those who prefer convenience or have dexterity concerns, but always verify the magnet is strong enough for your beads.

Take time to match the metal tone and style of your clasp with your overall design for a harmonious, professional look.
Essential Tools and Materials Needed
Before attaching clasps to your beaded jewelry, gather a few essential tools and materials to guarantee a secure, professional finish.
Start with a pair of chain nose pliers and round nose pliers, which let you open and close jump rings and manipulate wire with precision. Wire cutters are crucial for trimming beading wire or thread cleanly.
Stock up on beading supplies like crimp beads or tubes—these anchor your clasp in place. Choose clasp types that best fit your design, such as lobster, toggle, or magnetic clasps, and make sure you have matching jump rings or split rings.
Select a strong, compatible beading wire or thread based on your beads’ weight. Keep a bead mat nearby to prevent pieces from rolling away as you work.
Preparing Your Beaded Strand
Once you’ve gathered your tools and materials, lay your beaded strand on a bead mat and inspect both ends to guarantee the beads are evenly distributed and the pattern aligns as intended.
Double-check your bead selection; confirm each bead contributes to the overall design and that no mismatched or damaged beads remain.
Pay close attention to strand length, ensuring it meets your intended finished size, including enough space for the clasp components. If needed, adjust by adding or removing beads to achieve perfect symmetry and desired length.
Gently straighten the strand, smoothing out any kinks in the beading wire or thread. Make sure both ends are accessible and free from knots or fraying, setting you up for a seamless shift to attaching your clasp.
Using Crimp Beads for Secure Attachment
Secure your jewelry design by integrating crimp beads, which act as essential anchors for attaching clasps to beaded strands.
Start by selecting the proper crimp bead types—tube crimps are popular for their secure hold, while round crimps offer a subtle finish. Slide a crimp bead onto your beading wire, then thread the wire through the clasp loop and back through the crimp bead, forming a loop.
Use precise crimping techniques: with crimping pliers, compress the bead in two steps—first, create a fold, then round it off for extra stability. Double-check the crimp to verify it won’t slip.
Trim any excess wire close to the crimp for a neat appearance. This method guarantees your clasp stays firmly attached.
Attaching Clasps With Wire Guardians
Although wire guardians may appear small, they play an essential role in both protecting your beading wire and extending the life of your jewelry.
To use one, thread your beading wire through a crimp bead, then up and over the wire guardian’s channel, creating a smooth, protected loop. This loop prevents friction between the clasp and wire, reducing wear and breakage—one of the main wire guardian benefits.

Next, slide the clasp onto the loop formed by the wire guardian before threading the wire back through the crimp bead. This precise clasp attachment technique guarantees the connection point remains strong and professional.
Use pliers to snug the crimp bead in place, securing everything neatly. Your jewelry won't only look polished but last considerably longer.
Adding Jump Rings for Flexibility
When you want your beaded jewelry to move naturally and withstand daily wear, adding jump rings between the clasp and your strand is essential.
Jump rings act as flexible connectors, reducing strain on your stringing material and allowing the clasp to rotate freely. Choose from various jump ring types—open, closed, or split—for different needs. Open jump rings are easy to use and ideal for most beaded pieces, while closed jump rings offer extra security.
Selecting the right jump ring sizes matters, too. Use a size that’s proportionate to your beads and clasp; typically, 4mm to 6mm rings work well for necklaces and bracelets.
Always use flat-nose pliers to gently twist open the ring, never pull it apart, ensuring a seamless and durable connection.
Securing Clasps With Thread or Cord
If you're finishing your beaded jewelry with thread or cord, mastering a strong connection to the clasp is essential for lasting wear.
First, verify your cord thickness matches both the bead holes and the clasp’s attachment loop to avoid bulk or slippage. Thread your cord or thread through the clasp loop, then double back, creating a secure loop.
Maintain even thread tension—too tight and the jewelry might kink; too loose and the clasp could shift or unravel. Use a surgeon’s knot or a double knot for added strength, pulling it snugly against the clasp.
For extra security, dab a small amount of jewelry glue on the knot. Trim excess cord carefully, leaving a small tail that you can tuck back through adjacent beads.
Troubleshooting Common Clasp Attachment Issues
Even careful craftsmanship can sometimes lead to unexpected issues when attaching clasps to beaded jewelry. If your clasp doesn’t sit straight, you’re likely facing clasp alignment issues.
Examine both the loop orientation and how the clasp connects—sometimes a twist in the thread or cord is the culprit. Realign by carefully restringing or adjusting jump rings to guarantee both ends match up seamlessly.
Clasp weight considerations are just as significant; a clasp that’s too heavy can cause your piece to hang awkwardly or strain the beadwork. Opt for a clasp that balances with your beads in both size and weight.

Also, double-check your crimps or knots for slippage, as loose finishes can cause the clasp to detach or the jewelry to fail.
Tips for a Professional Finish
Although attaching a clasp might seem like a simple step, meticulous attention to detail transforms your beaded jewelry from homemade to professionally finished.
Focus on professional techniques—use crimp covers to conceal crimps and guarantee your beading wire is snug but never strained. Trim excess wire close to the crimp for a neat look, but avoid cutting too close, which can compromise durability.
Align your clasp with the beaded strand, maintaining symmetry for ideal aesthetic considerations. Choose findings that complement your design in both color and scale. Tuck wire tails neatly inside adjacent beads when possible.

Use chain-nose pliers for precise adjustments and to prevent tool marks. Finally, double-check the clasp’s movement to guarantee smooth, secure function. These steps elevate your jewelry’s finish.
Frequently Asked Questions
How Do I Clean and Maintain My Jewelry Clasps?
To keep your jewelry clasps in top shape, use gentle cleaning techniques like soft brushes and mild soap. For maintenance tips, regularly check for tarnish, lubricate moving parts, and dry thoroughly to prevent corrosion or sticking.
Are There Hypoallergenic Clasp Options Available?
Yes, you’ll find hypoallergenic clasp options crafted from materials like surgical stainless steel, titanium, or niobium. These hypoallergenic materials boost clasp durability, minimize irritation, and keep your jewelry comfortable and safe for sensitive skin.
Can I Reuse Clasps From Old Jewelry Pieces?
You can absolutely reuse clasps from old jewelry pieces. Embrace reuse benefits by reducing waste and saving money. Always inspect clasp durability—check for secure mechanisms and metal fatigue—before incorporating them into your new beaded jewelry designs.
What Clasp Styles Are Best for Children’S Jewelry?
When you craft children’s jewelry, always prioritize safety and ease. Magnetic clasps work well for quick, frustration-free fastening, while safety clasps offer extra security, preventing accidental loss. Choose sturdy, hypoallergenic materials to avoid skin irritation and guarantee durability.
How Do I Personalize or Decorate My Jewelry Clasps?
You can personalize your jewelry clasps using creative techniques like wire wrapping, adding tiny charms, or applying enamel. Experiment with clasp embellishments such as crystals, seed beads, or stamped metal tags to create a unique, detailed finishing touch.
Conclusion
Attaching clasps to beaded jewelry isn’t just the final step—it’s your chance to showcase precision and creativity. By selecting the right clasp, using quality crimp beads, and adding jump rings or wire guardians, you’ll guarantee both durability and elegance. Don’t rush; double-check each connection for security and alignment. With every detail attended to, your finished piece won’t just look professional—it’ll last and function beautifully, ready to be worn or gifted with confidence.


コメントを書く
このサイトはhCaptchaによって保護されており、hCaptchaプライバシーポリシーおよび利用規約が適用されます。