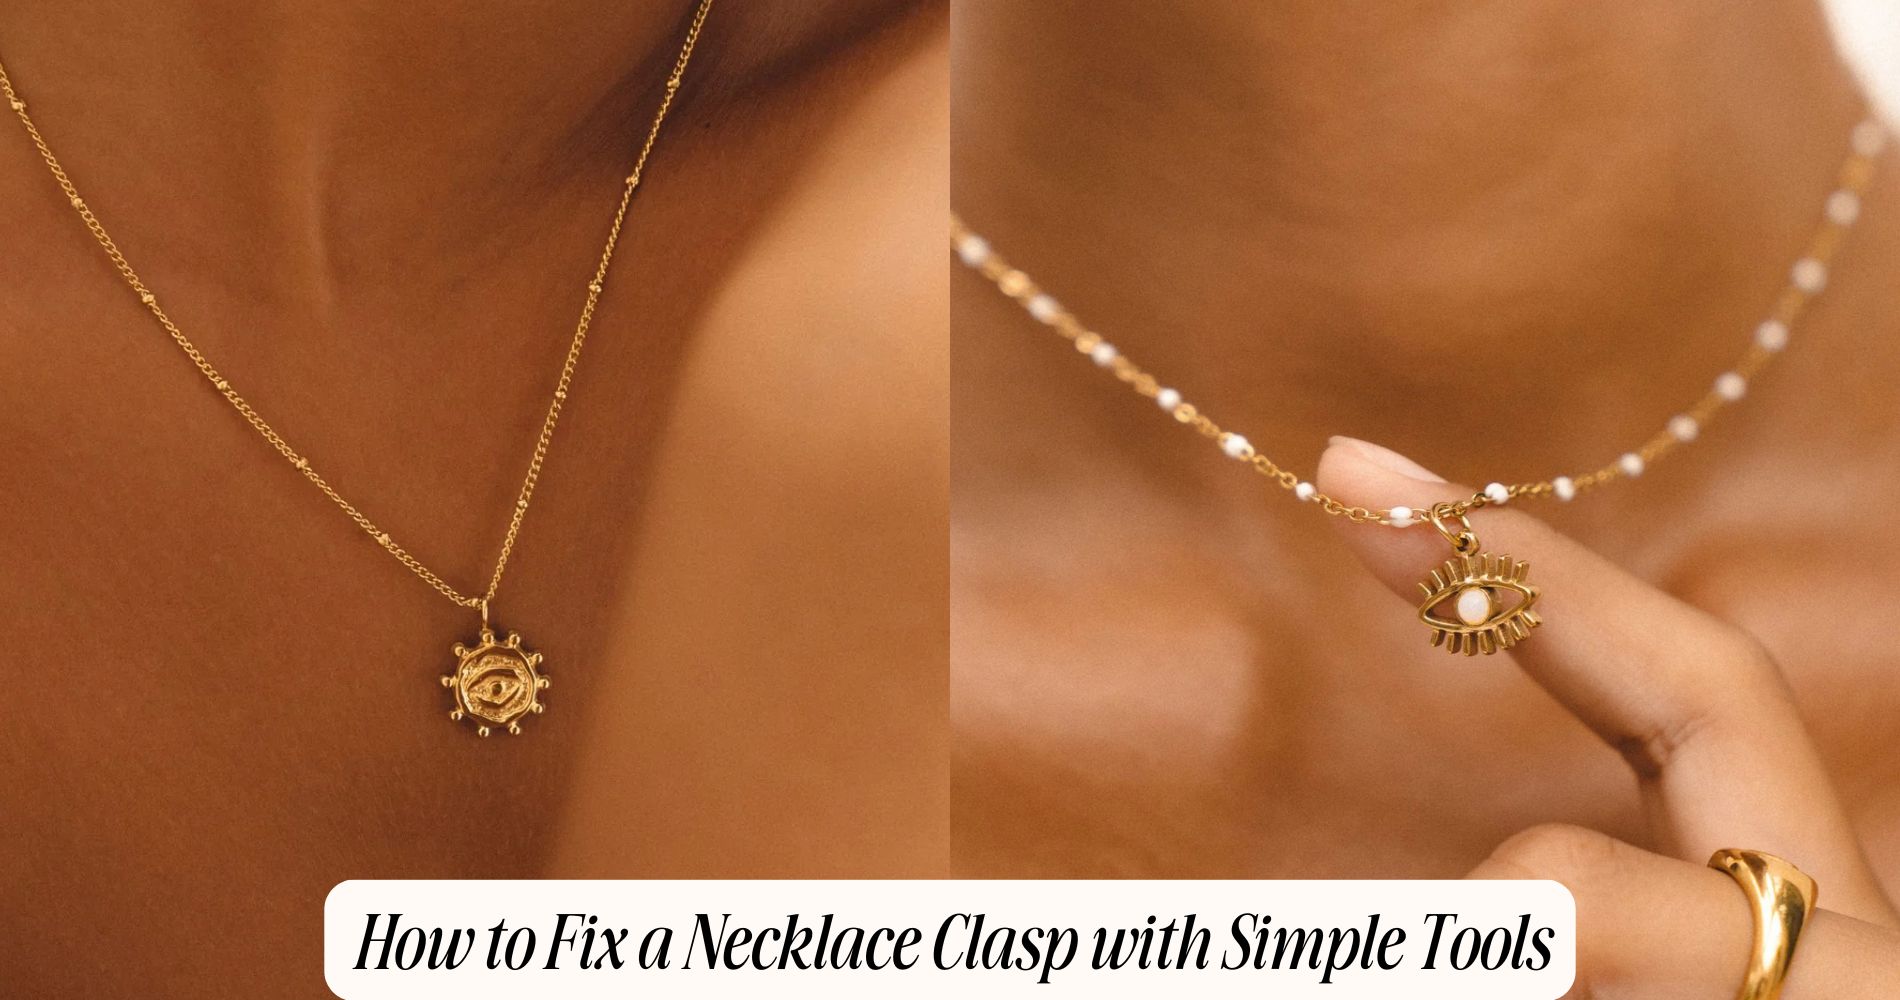
How to Fix a Necklace Clasp With Simple Tools
If you’ve ever wondered how to fix a necklace clasp, it’s easier than you might think with a few simple tools. Start by gathering flat-nose and needle-nose pliers, a magnifying glass, and a tray for parts. First, identify the clasp type—lobster, spring ring, toggle, or barrel—as each requires a slightly different approach. For a lobster clasp, inspect the spring, use tweezers to adjust, and align with pliers. When dealing with an open jump ring, twist it carefully to avoid deformation and ensure a secure reattachment. For inspiration or to try these techniques on stylish pieces, explore Atolea’s Greek Necklaces collection. With these tips, you can achieve professional results at home.
Gather Your Tools and Materials
Before you begin repairing a necklace clasp, make certain you have all necessary tools and materials ready. Tool selection tips are vital for guaranteeing efficiency and precision.
Opt for a pair of flat-nose pliers; they provide excellent grip without damaging delicate components. Needle-nose pliers are handy for accessing tight spaces. A magnifying glass can enhance visibility for intricate tasks.
Essential materials include a jewelry repair kit, which typically contains jump rings and clasps of various sizes. Use a soft, lint-free cloth to protect the necklace during repair, preventing scratches.
Keep a small tray to organize tiny parts and avoid misplacement. Always guarantee a well-lit workspace to enhance focus and accuracy during intricate adjustments. Proper preparation guarantees seamless repair processes.
Identify the Type of Clasp
Understanding the type of clasp on your necklace is vital for effective repair. First, examine the clasp types, which include lobster, spring ring, toggle, and barrel clasps. Each has unique mechanisms that require specific repair approaches.
Lobster clasps, for instance, feature a lever and a spring, often made of metal. Spring ring clasps utilize a coiled spring within a circular frame. Toggle clasps consist of a bar and a loop, often crafted from metals or even wood. Barrel clasps, typically used in beaded necklaces, screw together and are often metallic or plastic.
Identifying clasp materials is also important. Metals like sterling silver or gold require different handling compared to plastic. Accurately identifying these elements guarantees you apply the right repair techniques.
Repairing a Lobster Clasp
Having identified your necklace clasp as a lobster clasp, you can now focus on its repair by understanding its specific mechanism.
The lobster clasp, a popular choice among clasp types, features a spring-loaded gate that snaps shut against a rounded end.
For effective jewelry maintenance, begin by examining the small spring inside using a magnifying glass. If the spring is dislodged, use precision tweezers to reposition it.
Gently squeeze the clasp's sides with needle-nose pliers if it's misaligned, guaranteeing the gate aligns perfectly with the clasp's base.
Check the trigger mechanism by repeatedly pressing it to confirm smooth operation. If the spring mechanism is compromised, consider replacing the entire clasp for ideal function.
Always handle with care to avoid further damage.
Fixing a Broken Jump Ring
A broken jump ring can compromise the integrity of your necklace, but it's a fixable issue with the right tools and techniques.
First, identify the jump ring types—open or closed. Use flat-nose pliers to gently twist open an existing open jump ring or replace a damaged closed jump ring. When opening, twist the ends sideways instead of pulling apart to maintain the ring’s shape.
If the jump ring is beyond repair, consider clasp alternatives like split rings for added security. Secure the jump ring to the chain, making certain it’s aligned and properly closed.
Always close the ring tightly to prevent gaps where the chain might slip out. This guarantees your necklace remains intact and functional without compromising its design.
Reattaching the Clasp to the Necklace
When reattaching the clasp to your necklace, make sure you have the necessary tools at hand, including flat-nose pliers, a new clasp if the old one is damaged, and potentially a new jump ring.
First, identify the clasp types compatible with your necklace materials. Common types include lobster, spring ring, and toggle clasps.
Use the pliers to gently open the jump ring by twisting, not pulling, to avoid deformation. Thread the jump ring through the clasp loop and the necklace end.
Align the ends of the jump ring and close it securely with the pliers, making certain of a snug fit.
Test the clasp's function by fastening and unfastening it to confirm stability and alignment. This method guarantees durability and a seamless appearance.
Frequently Asked Questions
Can I Use Household Tools to Fix a Necklace Clasp?
Yes, you can use household tools for DIY jewelry repairs. Needle-nose pliers and a magnifying glass aid in precision. Gently realign the clasp with the pliers, ensuring the spring mechanism functions. Verify alignment and test the closure.
How Do I Prevent Future Clasp Breakages?
Regularly inspect your necklace clasp for signs of wear or damage. Employ preventive maintenance by gently cleaning and lubricating the clasp mechanism. Confirm the clasps are securely attached, and avoid excessive force when fastening or unfastening.
What Should I Do if Parts Are Missing?
If parts are missing, explore replacement options like purchasing a new clasp at a jewelry supply store. Consider clasp alternatives, such as magnetic or toggle clasps, ensuring compatibility with your necklace design for a seamless repair.
Are There Specific Tools for Delicate Necklaces?
Yes, you’ll need precision pliers for delicate designs and micro-tip tweezers for handling fine jewelry materials. These tools guarantee you don’t damage the intricate details or fragile components while performing repairs on delicate necklaces.
Can Magnetic Clasps Be Easily Repaired?
Yes, you can easily repair magnetic clasps with the right techniques. Identify the magnetic clasp types first. Use pliers for adjustments or replace faulty magnets. Guarantee proper alignment for seamless operation, focusing on detailed clasp repair techniques.
Conclusion
To summarize, with the right tools and a clear understanding of your necklace's clasp type, you're equipped to tackle minor repairs with precision. Whether you're reattaching a lobster clasp or fixing a broken jump ring, following these detailed steps guarantees your necklace is securely restored. Remember, proper alignment and secure closure are key. By mastering these techniques, you not only extend the life of your jewelry but also gain valuable skills for future repairs.








コメントを書く
このサイトはhCaptchaによって保護されており、hCaptchaプライバシーポリシーおよび利用規約が適用されます。