
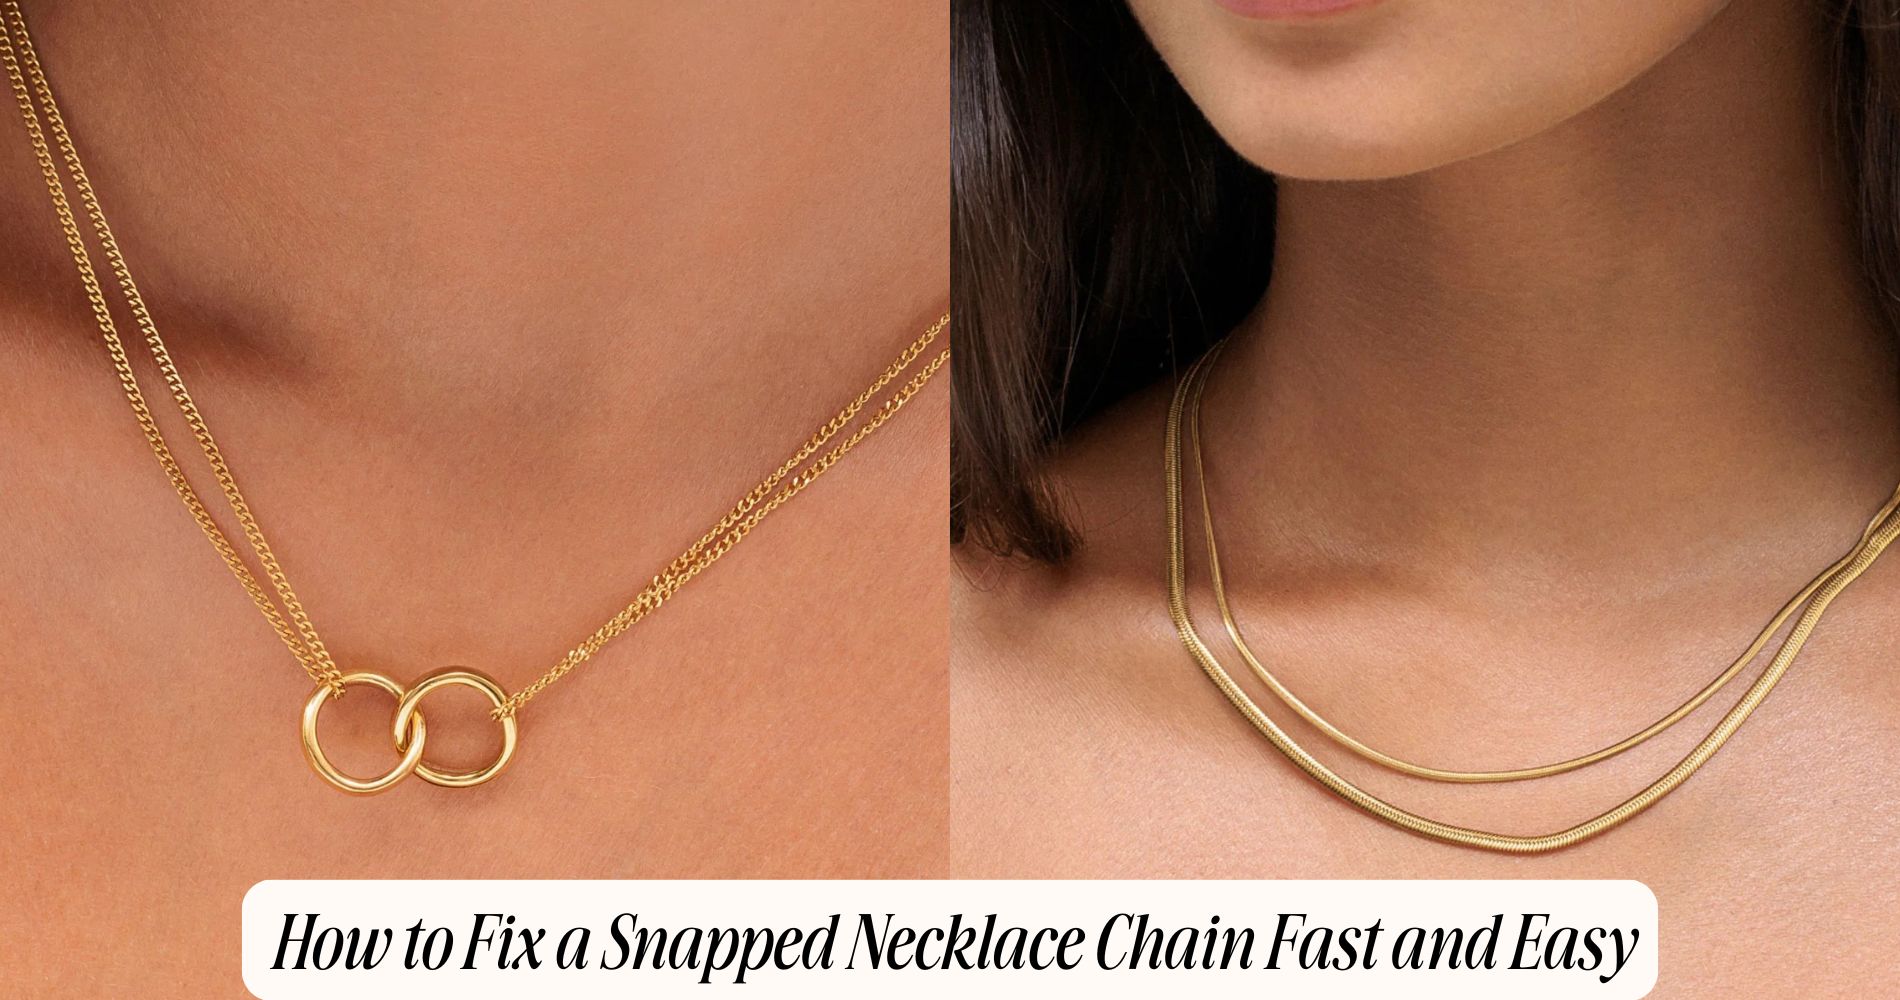
How to Fix a Snapped Necklace Chain Fast and Easy
If you’re wondering how to fix a snapped necklace chain, start by gathering needle-nose pliers, a magnifying glass, and a replacement jump ring or wire. First, identify the chain type—like cable or rope—and examine the broken ends closely, straightening any bent links. Carefully use pliers to close the open link and align it precisely, then test the repair by gently pulling the ends to ensure durability. For tips on keeping your necklaces in top condition, check out Atolea’s Minimalist Gold Necklace collection for delicate, timeless pieces perfect for everyday wear.
Gather Your Tools and Materials
Before you begin repairing your snapped necklace chain, make sure you gather all the necessary tools and materials.
Start with your tools checklist: needle-nose pliers for gripping small links, a magnifying glass for detailed inspection, and a jewelry loupe for precision work. These are vital for handling the delicate components of the chain.
Next, focus on important materials. You'll need a suitable replacement jump ring or a small piece of wire, depending on the break location.

Have jeweler's glue on hand for extra security if needed. A soft cloth is essential to protect the chain from scratches during the repair process.
Organize these items within easy reach to streamline the process and guarantee a smooth repair experience.
Identify the Type of Chain
With your tools and materials ready, the next step is to accurately identify the type of chain you're working with.
Start by examining the chain materials—determine if it’s gold, silver, platinum, or another metal. This affects repair techniques and the tools needed.
Next, assess the chain styles. Is it a delicate cable chain, a robust curb chain, or perhaps an intricate rope chain? Each style has unique characteristics influencing how you’ll approach the repair.
Use a magnifying glass for detailed inspection. Check the chain links’ shape and interlocking method, as this helps in selecting the right repair strategy.

Understanding your chain’s specifics is essential for a seamless repair process and guarantees the chain is restored to its original condition.
Prepare the Broken Ends
Start by laying your necklace on a clean, flat surface to keep everything in place. Identify the specific chain type you're dealing with—whether it's a cable, box, or snake chain—as each requires different repair techniques.
With the broken ends visible, use a magnifying glass to examine the chain links closely. This will help you see any irregularities, guaranteeing a precise repair.
If the chain links are bent or misshapen, gently straighten them using your fingers or precision tweezers. It's essential to avoid damaging the metal further. For finer chains, use needle-nose tweezers to delicately align the links.
Verify both ends are clean and free of debris. A clean break will facilitate a stronger connection when proceeding to the actual repair process.
Use Pliers to Reconnect the Chain
Grasp your precision pliers firmly and position them around one of the open chain links. This step is vital for effective chain repair. Confirm your tool selection is precise; opt for flat-nose or needle-nose pliers, as they provide better control over small components.
With the pliers in place, gently close the open link by applying steady pressure. Align the link ends perfectly to guarantee a seamless connection.

Once the link is closed, release the pliers and inspect the joint closely. If necessary, use a magnifying glass to verify the alignment and closure.
Repeat the process for any other open links in the chain. Proper tool selection and technique are essential to restoring your necklace's functionality and appearance without damaging the surrounding links.
Test the Strength of the Repair
Once you've reconnected the chain, it’s essential to test the strength of the repair to confirm durability.
Begin by gently pulling both ends of the necklace to assess the tension. If the chain holds without slipping or breaking, your repair techniques were successful.
For more precise testing, suspend the necklace and add a small weight, such as a pendant, to simulate regular use. Observe closely for any signs of weakness or deformation in the links.
If the chain strength appears compromised, consider re-evaluating the connection points or using a different technique, like soldering or adding a jump ring.
Verifying chain strength now prevents future breaks and extends the necklace’s wearability.
Carefully testing the repair verifies your necklace is ready for everyday wear.
Maintain Your Necklace for Longevity
To guarantee your necklace remains in pristine condition, integrate regular maintenance into your routine. Start by implementing precise cleaning techniques. Use a soft, lint-free cloth to gently wipe the chain after each wear, removing oils and residues.
For a deeper clean, prepare a mild soap solution and immerse the necklace briefly, using a soft brush to access intricate areas. Rinse thoroughly and pat dry.
Next, employ effective storage solutions. Store your necklace in a lined jewelry box or a soft pouch to prevent tangling and scratches. Use anti-tarnish strips to safeguard against oxidation.

Avoid storing in damp environments to prevent corrosion. By adhering to these practices, you’ll ascertain your necklace retains its luster and integrity for years to come.
Frequently Asked Questions
Can I Fix the Chain Without Any Tools?
Yes, you can perform DIY repairs without tools. For quick fixes, gently twist the chain ends together using your fingers. Make sure the links are securely interlocked, then press them closed. This method provides a temporary solution until proper repairs.
How Long Does the Repair Usually Take?
The repair duration varies based on your chosen techniques and chain materials. Simple repairs like jump ring reattachments take minutes, while soldering or wire wrapping might extend to half an hour, depending on your expertise and tools available.
Is It Possible to Repair a Chain Made of Precious Metals?
Yes, you can repair a chain made of precious metals. Use a soldering technique for chain restoration. Confirm the right temperature for the precious metal repair to avoid damage. Precision and proper tools are essential for success.
What if the Chain Keeps Breaking After Repair?
If your chain keeps breaking, examine the causes of breakage like metal fatigue or improper repair. Implement preventative measures: avoid tension, store properly, and have a jeweler inspect it using precise tools for structural integrity.
Can I Add Extra Links to Extend the Chain?
Yes, you can add extra links for a chain extension. Choose suitable link options, matching the necklace's material and style. Use pliers to open and attach links, ensuring secure closures to prevent future breakage.
Conclusion
By following these steps, you'll quickly and effectively mend your snapped necklace chain. Make certain you have your tools ready—needle-nose pliers are essential. Identify your chain type, whether it's a cable, curb, or box, to apply the right technique. Align the broken ends meticulously, then use the pliers to securely reconnect them. Test the repaired chain's strength by gently tugging it. Finally, maintain your necklace by storing it properly and handling it with care to guarantee longevity.


コメントを書く
このサイトはhCaptchaによって保護されており、hCaptchaプライバシーポリシーおよび利用規約が適用されます。