
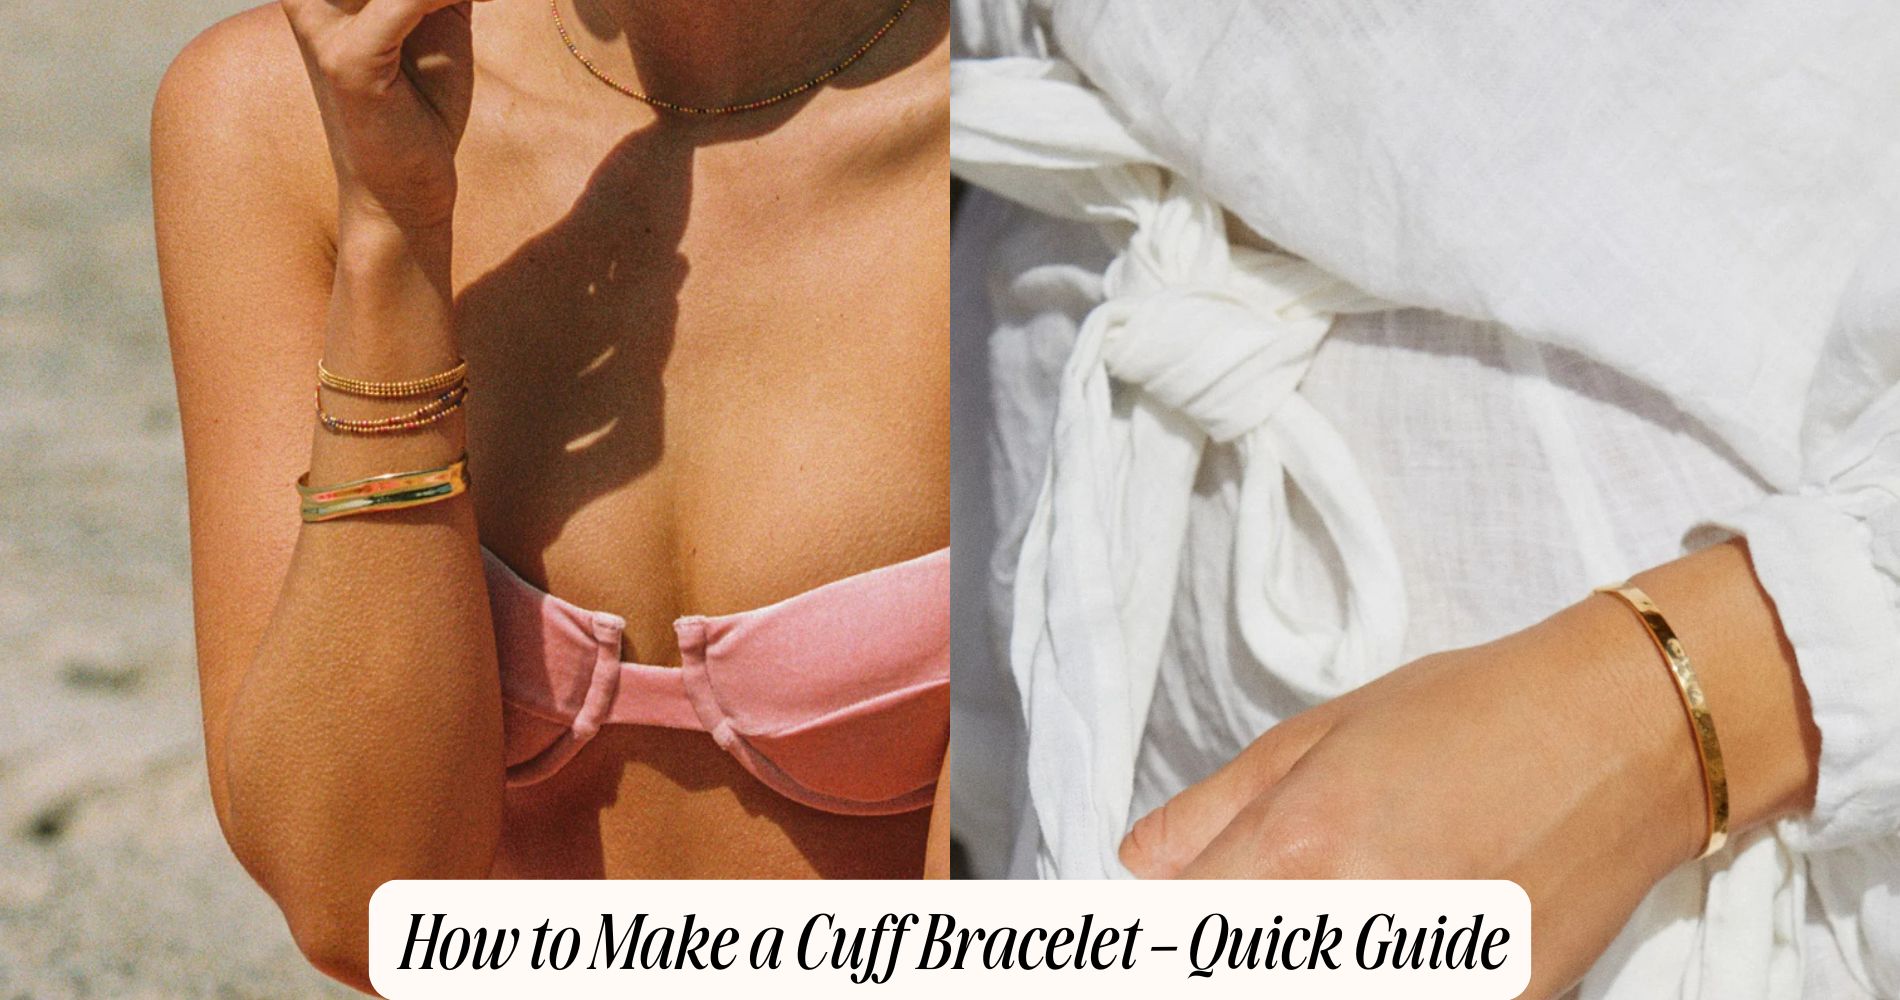
How to Make a Cuff Bracelet – Quick Guide
If you’re wondering how to make a cuff bracelet, the process starts with choosing your material—opt for full-grain leather or sturdy metal like brass. Measure your wrist accurately, mark that length onto your material, and cut it using a jeweler’s saw or rotary cutter. Next, refine the edges with files, shape the strip evenly around a mandrel, and add texture using hammers or stamping tools. Once the basic form is ready, smooth out any rough spots, apply finishes or paint, and embellish with stones or charms. For design ideas, check out our gold ankle bracelets, which highlight elegant detailing. Finish with proper care techniques to ensure a polished, long-lasting result.
Choosing Your Materials
Selecting the right materials sets the foundation for a striking cuff bracelet. First, you’ll want to evaluate leather options—choose between supple, full-grain leather for durability or go with embossed finishes for added texture.
If you prefer a metallic statement, compare metal types such as aluminum for lightweight wear, copper for a warm patina, or brass for a classic golden hue. Each material delivers a unique aesthetic and determines how the cuff will contour to your wrist.

Consider the thickness: thinner leathers and malleable metals allow for easier shaping, while stiffer materials offer bold structure.
Don’t overlook the surface—smooth finishes highlight clean lines, while hammered textures create rustic appeal. Balance your design vision with comfort, longevity, and the technical requirements of your chosen medium.
Essential Tools for the Project
A well-equipped workspace starts with a handful of indispensable tools that guarantee crisp cuts and precise shaping for your cuff bracelet.
First, select a jeweler’s saw or heavy-duty metal shears for slicing your base material with accuracy. Bench pin and clamps stabilize your workpiece, minimizing movement while you cut or file.
For refining edges, opt for a set of precision files—flat, half-round, and needle file tool types guarantee smooth, snag-free contours.
Essential supplies include a rawhide mallet for gentle shaping, plus a steel mandrel to help you form the perfect curve.
Don’t forget a measuring ruler and fine-tip marker for marking guidelines. Safety goggles and gloves complete your setup, shielding your hands and eyes as you bring your cuff bracelet vision to life.
Measuring Your Wrist for the Perfect Fit
With your tools assembled and workspace ready, turn your attention to one of the most important steps—accurately measuring your wrist to guarantee a comfortable, tailored fit for your cuff bracelet.
Begin by wrapping a flexible measuring tape snugly around the broadest part of your wrist, just above the wrist bone, making sure it lays flat without twisting. Record this number—this is your baseline wrist measurement.

For reliable wrist measurement techniques, double-check by repeating the process, or use a strip of paper and mark the overlap, then measure the strip with a ruler.
For accurate sizing tips, remember to add 1/4 to 1/2 inch to your measurement to allow for comfort and movement.
Precision now assures your finished cuff bracelet fits perfectly, enhancing both aesthetics and wearability.
Cutting and Shaping the Base
Once you’ve determined your ideal wrist measurement, transfer this length onto your chosen bracelet material—typically metal sheet, leather, or another sturdy medium. Mark your outline clearly using a fine-tip marker or scribe for precision.
Apply cutting techniques that best match your material: use jeweler’s saws for metal, rotary cutters for leather, or tin snips for softer metals. Hold your tool steady, guaranteeing a clean, controlled cut.
For shaping, gently curve the material around a mandrel or cylindrical object, applying even pressure to avoid kinks or stress marks. Shaping tips include working slowly and checking the fit frequently; this guarantees the cuff’s arc matches your wrist contour.
Don’t rush—precise cuts and thoughtful shaping set the foundation for a professional-quality cuff bracelet.
Smoothing the Edges
After cutting and shaping your bracelet base, sharp or uneven edges often remain that can snag or irritate the skin. To achieve a professional finish, employ edge treatment techniques using the appropriate smoothing tools.
Start by securing your bracelet blank on a soft, non-slip surface. Use a flat file to gently bevel the edges, working in smooth, even strokes along the entire perimeter. Progress to a fine-grit sanding sponge or emery board, refining the surface until it feels silky to the touch.

Pay special attention to interior curves and corners; a needle file works perfectly for tight spaces. Continually check your progress by running your fingertip along the edge. Once all roughness is eliminated, wipe away dust before moving to the next stage of your project.
Adding Texture or Design
Although your bracelet base is now smooth and comfortable, this is the stage where you’ll transform it from a blank canvas into a unique piece of wearable art.
Start by selecting your preferred texturing techniques—use a ball-peen hammer for a stippled surface, a chasing tool for raised lines, or metal stamps to impress intricate motifs.
Secure your cuff on a bench block, then apply consistent force for even results. For geometric design patterns, mark guidelines with a scribe before stamping or engraving.
If you prefer organic textures, try sandpaper, wire brushes, or a rolling mill with fabric or leaves.
Always check your progress under good lighting, ensuring the pattern remains uniform. Wipe away debris to reveal the crisp detail of your handcrafted surface.
Customizing With Paints or Finishes
Because surface treatments elevate both beauty and durability, you’ll want to explore paints and finishes that complement your cuff’s design.
Start by selecting paint types suited to your base material—acrylics adhere well to metal and leather, while enamel paints offer a glossy, resilient coat. Apply thin, even layers with a fine brush, allowing each to dry fully for a professional look.
For metallic shine, consider gilding wax or metallic leaf. When it comes to finish options, seal your painted surface with a clear acrylic sealer or jewelry-grade resin for lasting protection.
Matte, satin, and gloss finishes each lend distinct character—choose based on your envisioned effect. Don’t forget to mask areas you wish to keep unpainted for crisp, intentional lines.
Embellishing With Stones or Charms
Adornment takes center stage when you introduce stones or charms to your cuff bracelet.
Start with thoughtful stone selection—choose cabochons, faceted gems, or semi-precious beads that complement your design. Use E6000 or a two-part epoxy to securely attach stones to the cuff’s surface, pressing each piece in place with jeweler’s tweezers for precision.
For charm placement, mark your desired spots with a fine-tip pencil. Drill tiny pilot holes if your cuff is metal or punch through leather with an awl. Attach jump rings to each charm, then thread them through the holes and close the rings with pliers.
Vary charm sizes and spacing for visual interest, ensuring balance and symmetry. Let all adhesives cure fully before handling your embellished cuff.
Bending the Bracelet to Shape
Once your embellishments are secure, shape the flat bracelet blank into a comfortable cuff by gently curving it around a mandrel or a cylindrical form, such as a bracelet bender or even a sturdy glass bottle.
Use slow, even pressure as you employ bending techniques, ensuring the metal doesn't kink or crack. Check the bracelet dimensions frequently to match your wrist size—aim for an even arc with a small gap for easy wear.
If you're using thicker metal, you may need nylon-jaw pliers for finer adjustments. Rotate the blank as you work to create a symmetrical curve.
Avoid over-bending, as repeated manipulation can fatigue the metal. With patience and precision, you’ll achieve a professional, ergonomic cuff that’s ready for final finishing touches.
Caring for Your Handmade Cuff
Although your cuff bracelet boasts durability, attentive care preserves both its beauty and structural integrity.
Use appropriate cleaning methods based on the material—polish silver cuffs with a soft, non-abrasive cloth and mild soap; for copper or brass, employ a gentle metal cleaner to avoid surface scratches.
Avoid submerging leather-wrapped cuffs in water, opting instead for a damp cloth wipe-down.
Store your bracelet in a lined jewelry box or a soft pouch to minimize oxidation and prevent contact with other metals, which can cause unwanted abrasions.
For ideal longevity, keep your cuff away from harsh chemicals and direct sunlight.
Rotate your accessories to reduce daily wear.

With precise cleaning methods and mindful storage tips, your handmade cuff remains striking year after year.
Frequently Asked Questions
Can I Sell Cuff Bracelets I Make at Home?
Yes, you can sell cuff bracelets you make at home. Develop marketing strategies like social media promotion and craft fairs. Apply pricing tips: calculate material costs, labor, and competitor rates to maximize profit margins and attract buyers.
Are Cuff Bracelets Suitable for Men and Women?
You'll find cuff bracelets perfectly suitable for both men and women. Integrate fashion trends by selecting metals or leather, adjust width for comfort, and personalize engraving. This accessory enhances your personal style, offering versatile, gender-neutral appeal.
What Metals Are Hypoallergenic for Sensitive Skin?
You’ll want to select nontoxic metals like surgical-grade stainless steel, titanium, or niobium to minimize skin reactions. Avoid nickel alloys. Always polish edges and clean surfaces thoroughly to further reduce risk for sensitive skin.
How Long Does It Take to Make a Cuff Bracelet?
You'll spend 30 minutes to two hours crafting a cuff bracelet, depending on bracelet materials and your design complexity. Allocate extra crafting time for intricate hammering, texturing, or setting embellishments to achieve a professional, polished masterpiece.
Can I Resize a Finished Cuff Bracelet if Needed?
Yes, you can resize a finished cuff bracelet using specific resizing techniques. Gently adjust its shape by applying even pressure to enhance bracelet flexibility. Use nylon-jaw pliers for precision and avoid cracking or distorting intricate metalwork.
Conclusion
You’ve now mastered the technical steps to craft a custom cuff bracelet—from selecting malleable metal or leather, using a jeweler’s saw, to burnishing smooth edges and applying vibrant patinas. Don’t hesitate to experiment with bezel-set stones or wire-wrapped charms for a unique finish. Once you’ve shaped the cuff around a mandrel and polished it, your wearable art is ready. With proper care, your handcrafted bracelet will remain a striking symbol of your skill and creativity.


コメントを書く
このサイトはhCaptchaによって保護されており、hCaptchaプライバシーポリシーおよび利用規約が適用されます。